요약
It's what my Home Assistant server was missing all along
본문
 By
Ayush Pande
Published Sep 29, 2026, 11:00 AM EDT
Ayush Pande is a PC hardware and gaming writer. When he's not working on a new article, you can find him with his head stuck inside a PC or tinkering with a server operating system. Besides computing, his interests include spending hours in long RPGs, yelling at his friends in co-op games, and practicing guitar.
Sign in to your XDA account
By
Ayush Pande
Published Sep 29, 2026, 11:00 AM EDT
Ayush Pande is a PC hardware and gaming writer. When he's not working on a new article, you can find him with his head stuck inside a PC or tinkering with a server operating system. Besides computing, his interests include spending hours in long RPGs, yelling at his friends in co-op games, and practicing guitar.
Sign in to your XDA account
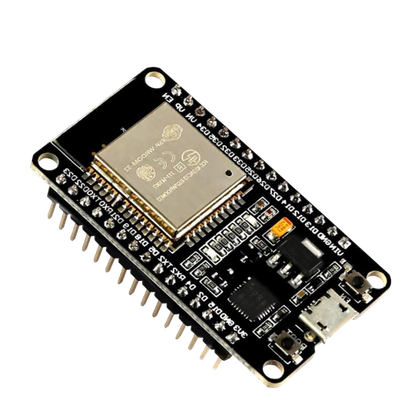
ESP32 microcontrollers and sensor modules go hand-in-hand, even more so if you’re as fond of building DIY smart home devices as I am. That said, you don’t need to go out of your way to pick up new sensors just for new projects, as there are dozens of cool ideas you can implement with just an ESP32 board.
Take the ESPectre motion detection system created by genius developer francescopace, for example. Typical ESP32 projects centered around detecting motion need some sort of a sensor module, with HC-SR501 or AM312 PIR being the most recommended options. Or, you could go the whole hog and put together a surveillance setup with AI-powered alerts. However, ESPectre solves this problem by combining Wi-Fi signals and the humble ESP32.
ESPectre relies on the CSI metrics from your Wi-Fi to detect motion
And it works pretty darn well without requiring additional sensors
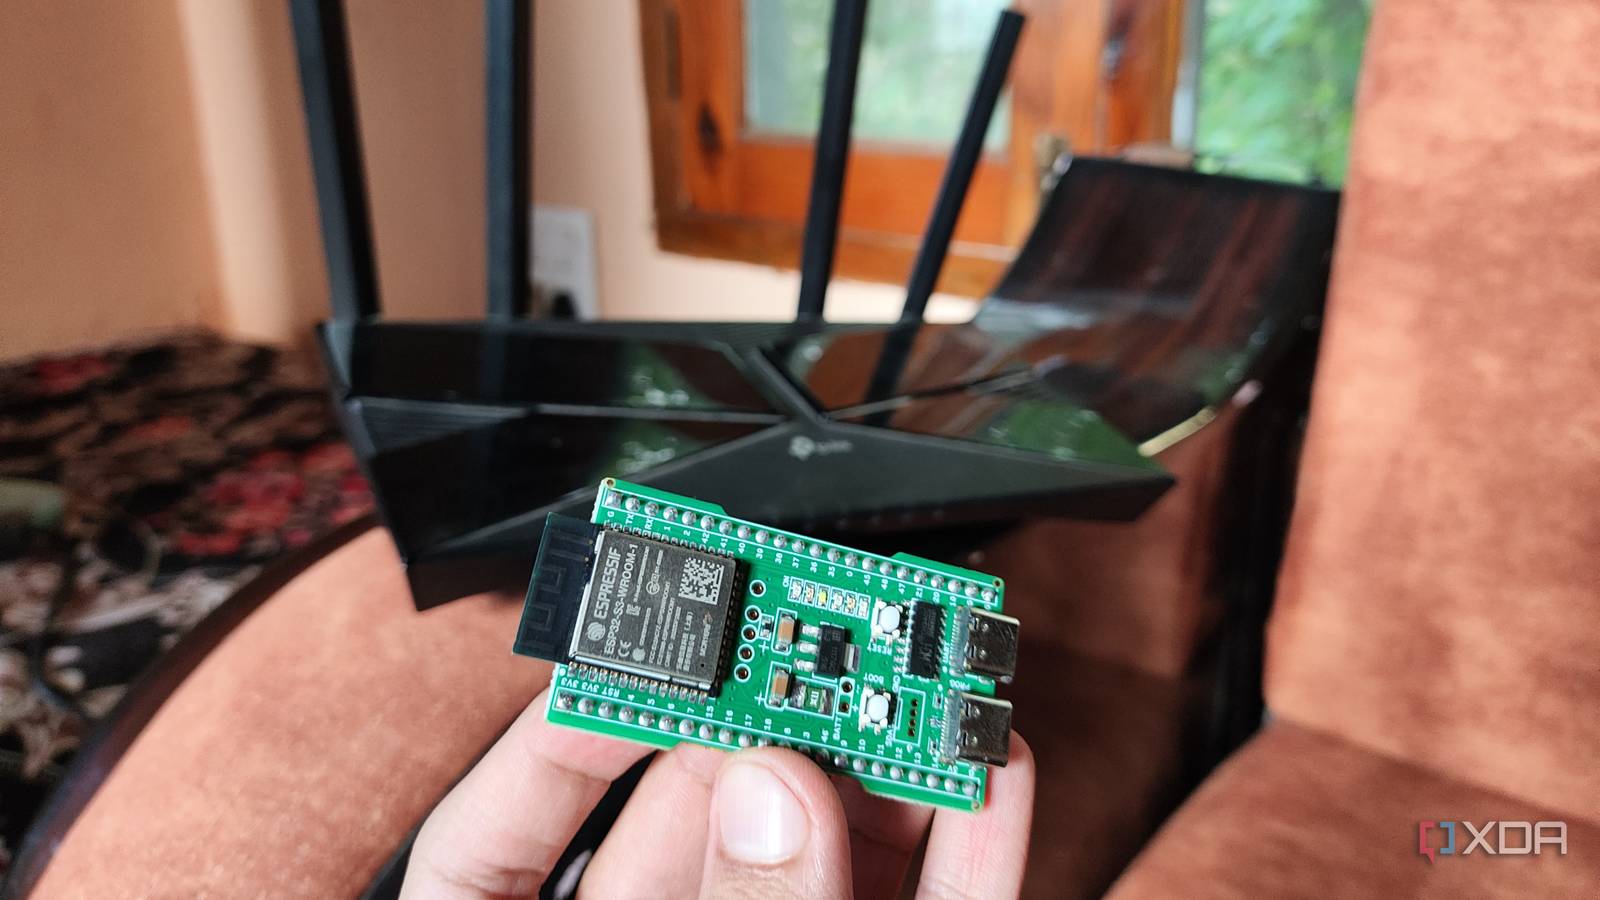
Most ESP32 microcontrollers ship with wireless network functionality, and that’s precisely what ESPectre utilizes when detecting motion in a room. You see, typical Wi-Fi packets possess Channel State Information (CSI), a set of parameters that describe power decay, scattering, and other physical aspects of the signal as it passes from the transmitter to a receiver. In most cases, the router (or an access point) serves as the transmitter, while every other device hooked up to it serves as the receiver.
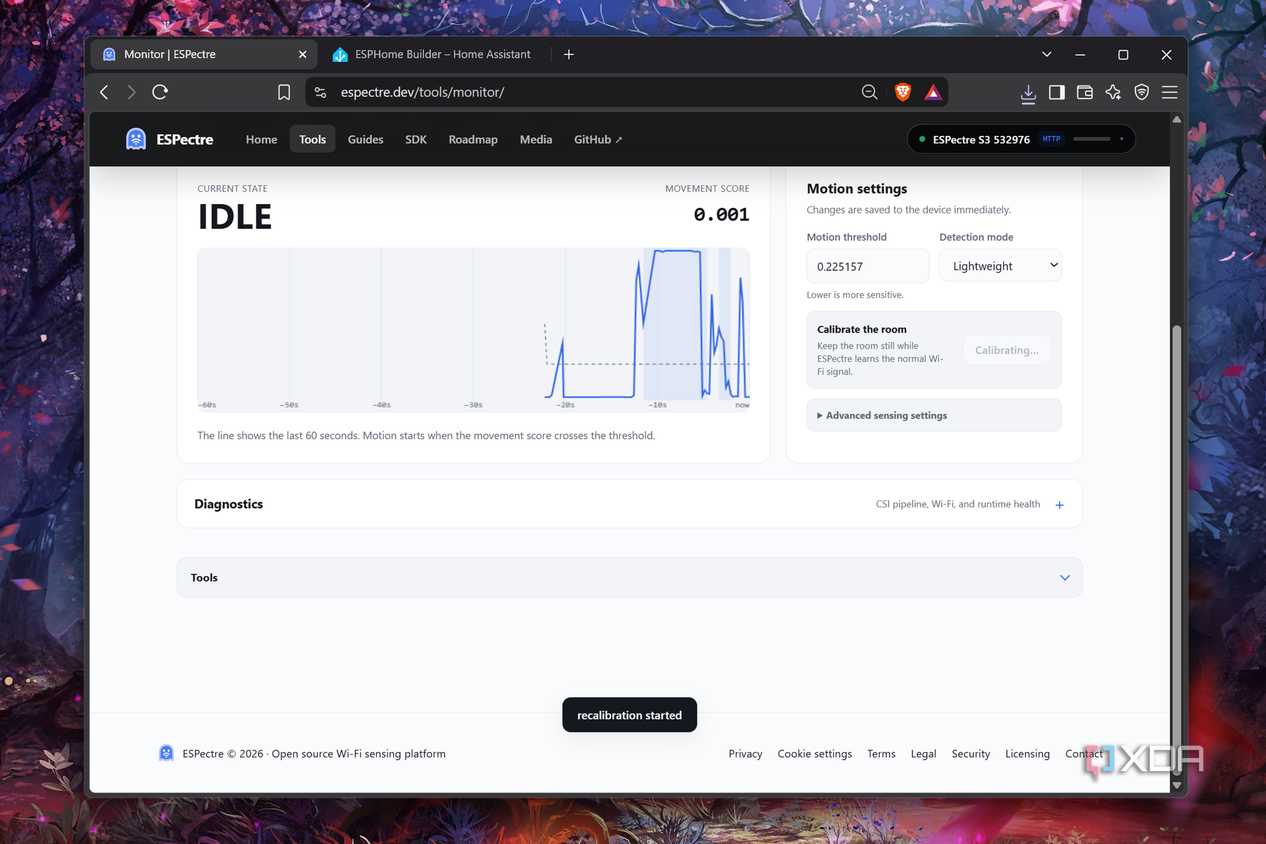
In a still environment, the CSI values tend to remain the same, but when you start moving between the receiver and the transmitter, you’ll distort these radio waves. This, in turn, affects the CSI parameters. With ESPectre, your ESP32 serves as the receiver, but it specifically monitors the CSI metrics transmitted by the router and converts these changes into a motion score. Of course, false positives are very much a thing, but ESPectre filters out normal radio noise when calculating the movement score, and you’re free to tweak the detection accuracy, CSI source, motion threshold, and other essential parameters to fine-tune your setup.
The best part? Unlike security cameras, ESPectre is only concerned with the CSI parameters, making it ideal for everything from living rooms to bedrooms, where typical surveillance setups would disrupt privacy. Since it doesn’t require dedicated sensors, you don’t need to look out for specific modules when building this project. Plus, ESPectre works with everything from classic ESP32 boards to the more feature-laden ESP32-C6, ESP32-S3, and ESP32-C3 systems.
I’ve configured ESPectre to connect to my Home Assistant server
Its official web UI makes the setup a breeze
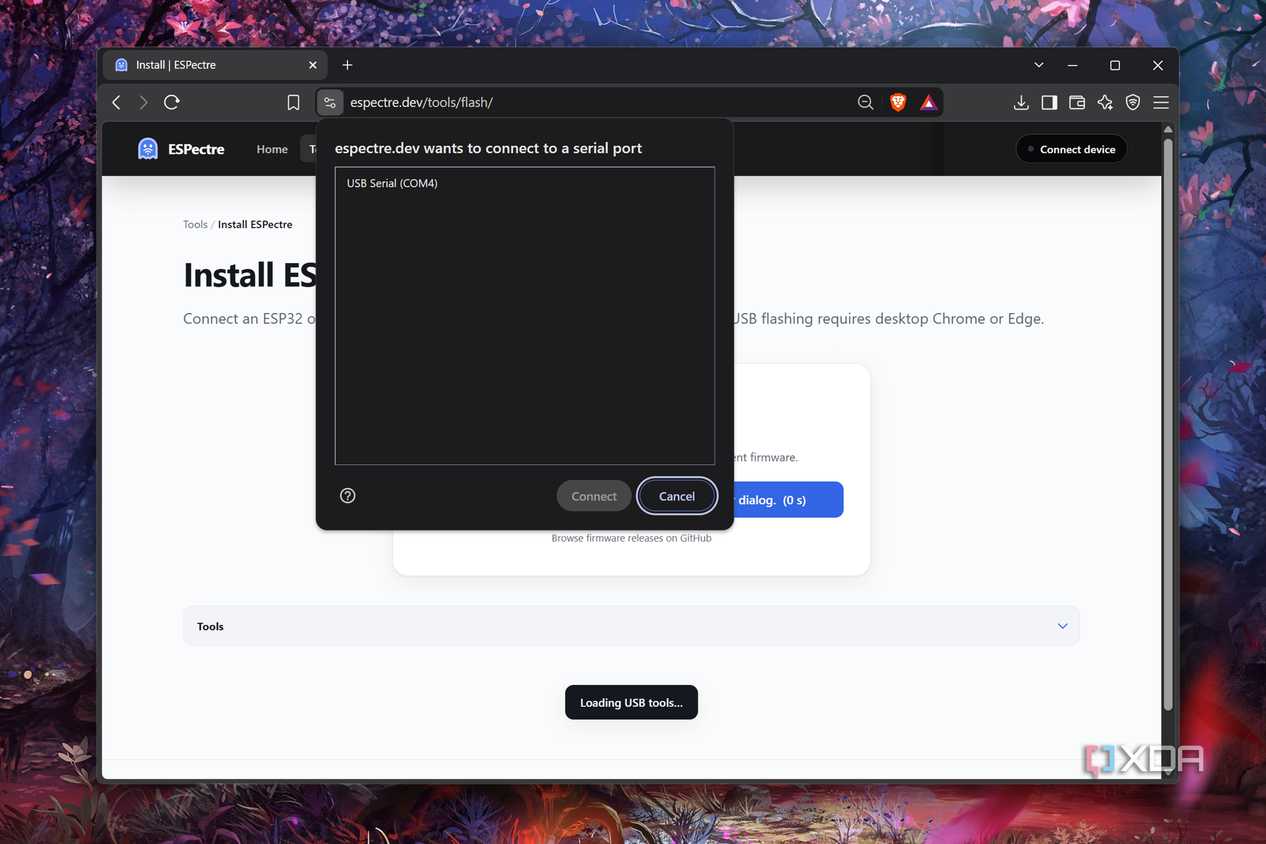
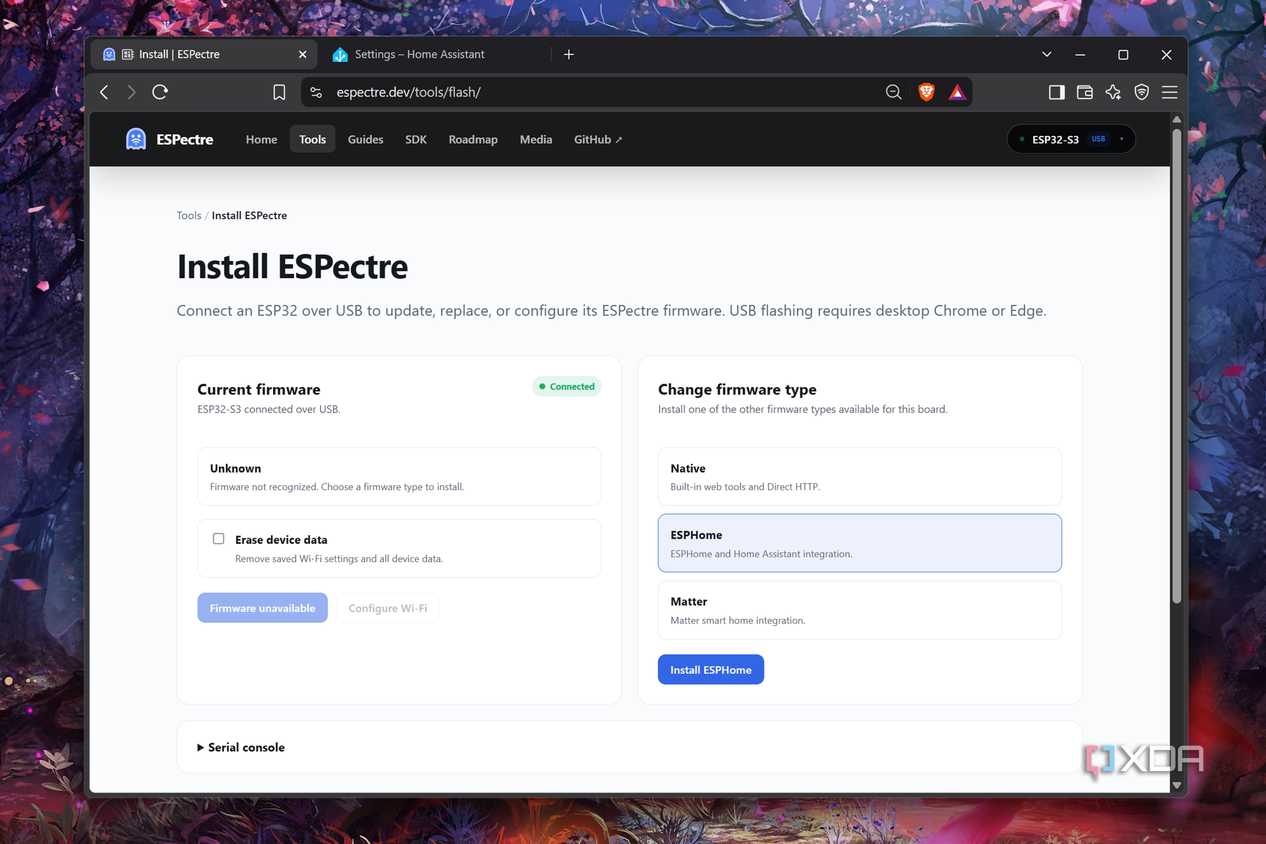
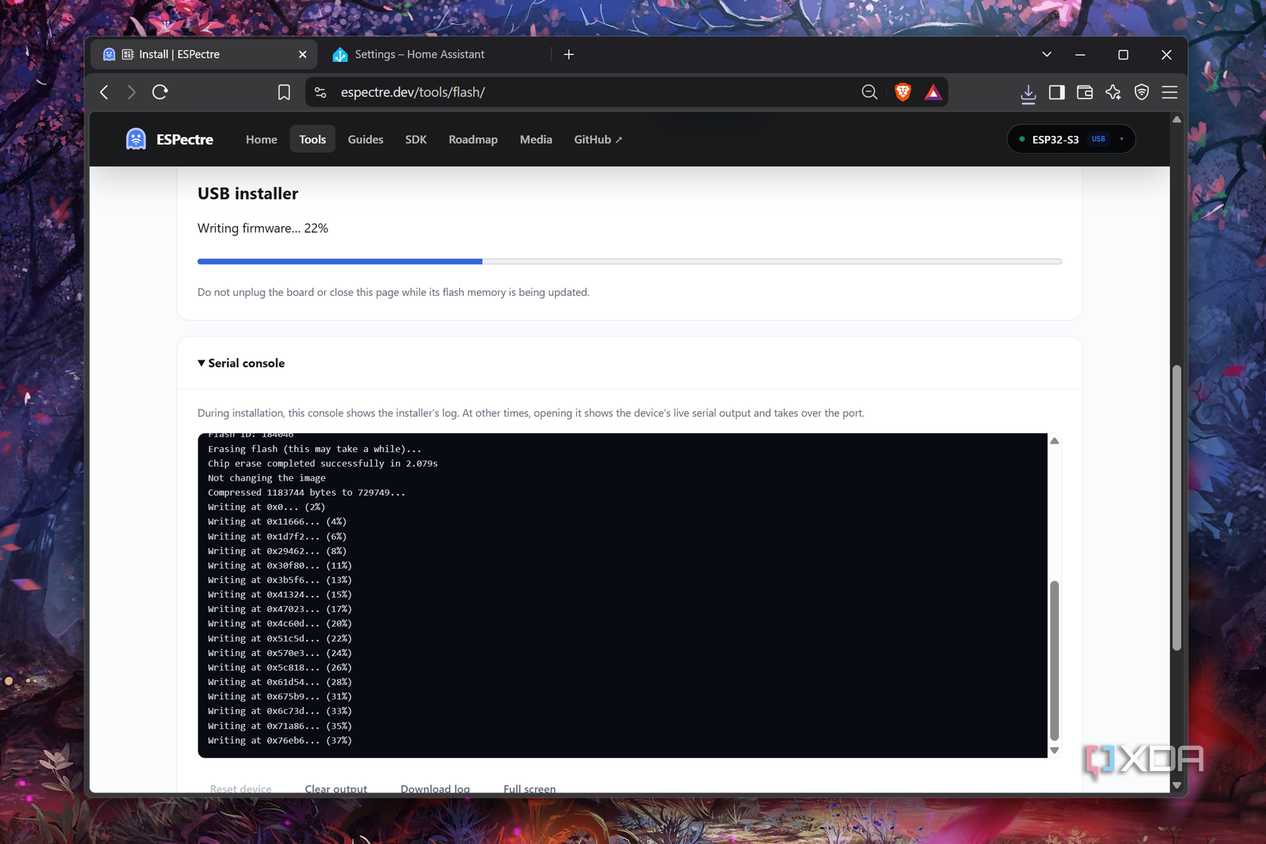
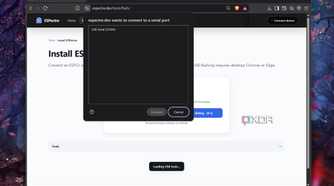
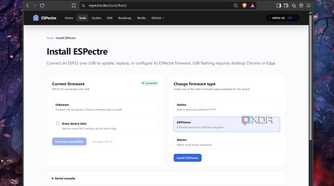
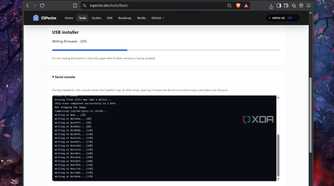

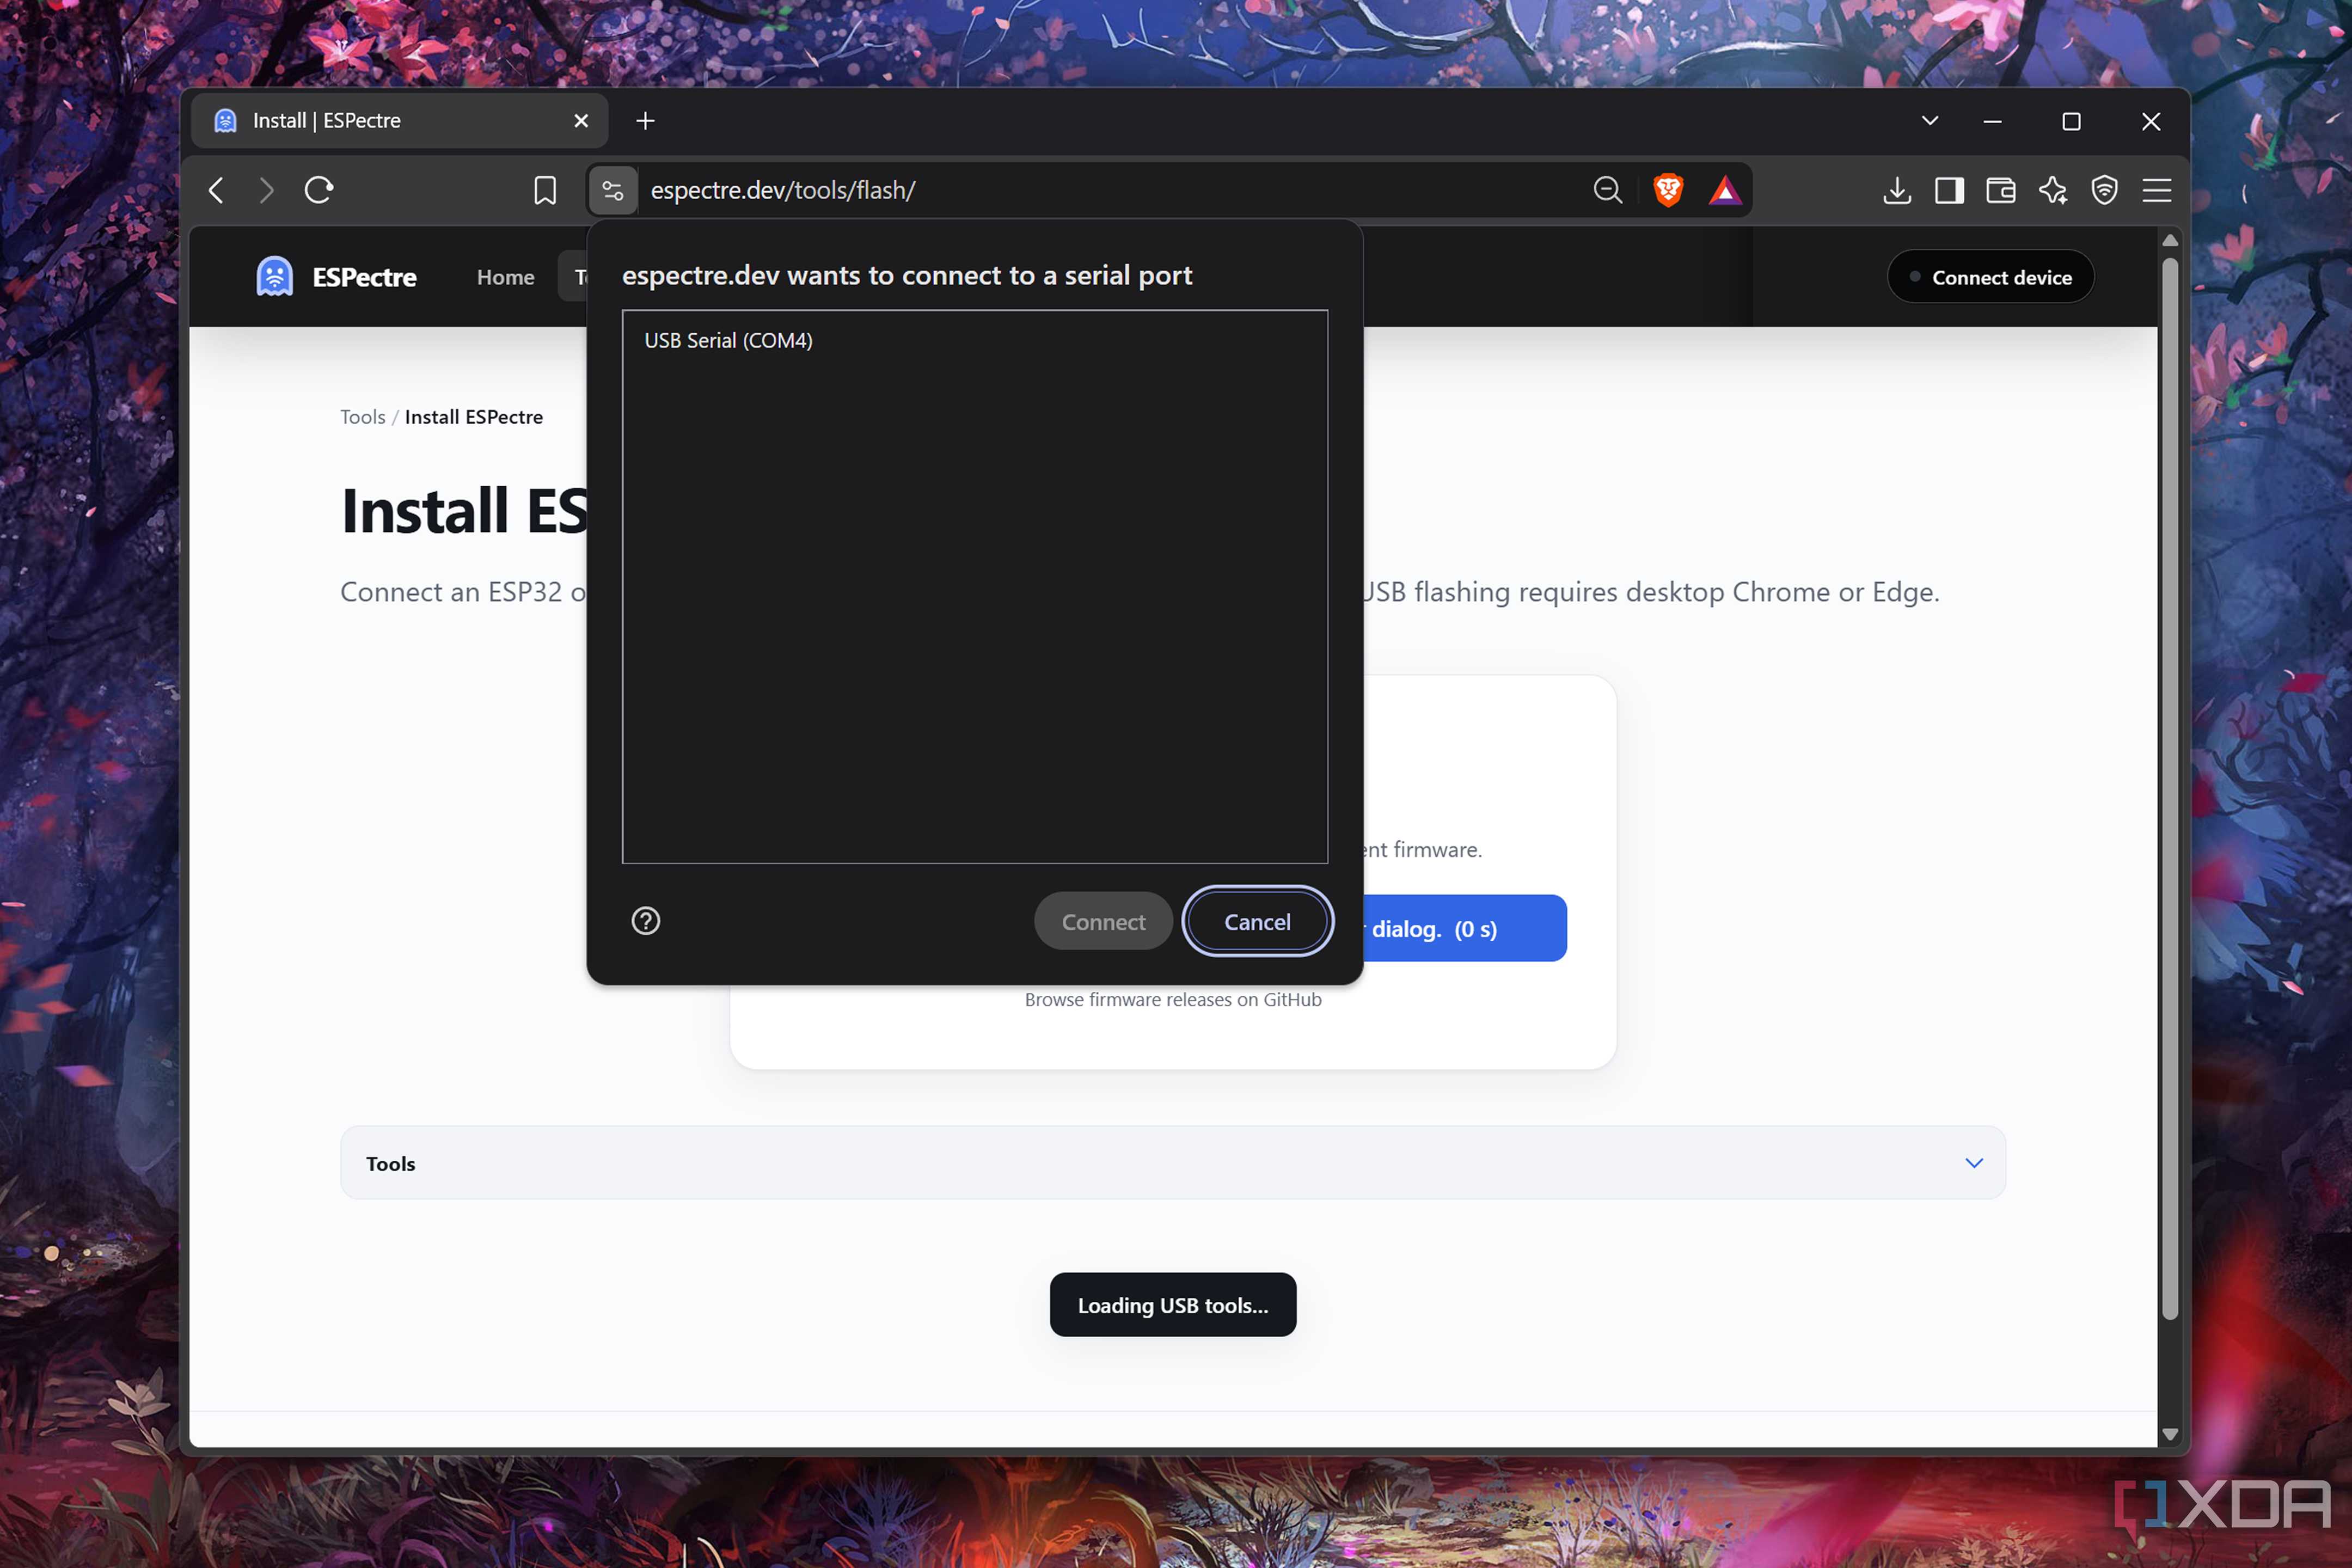
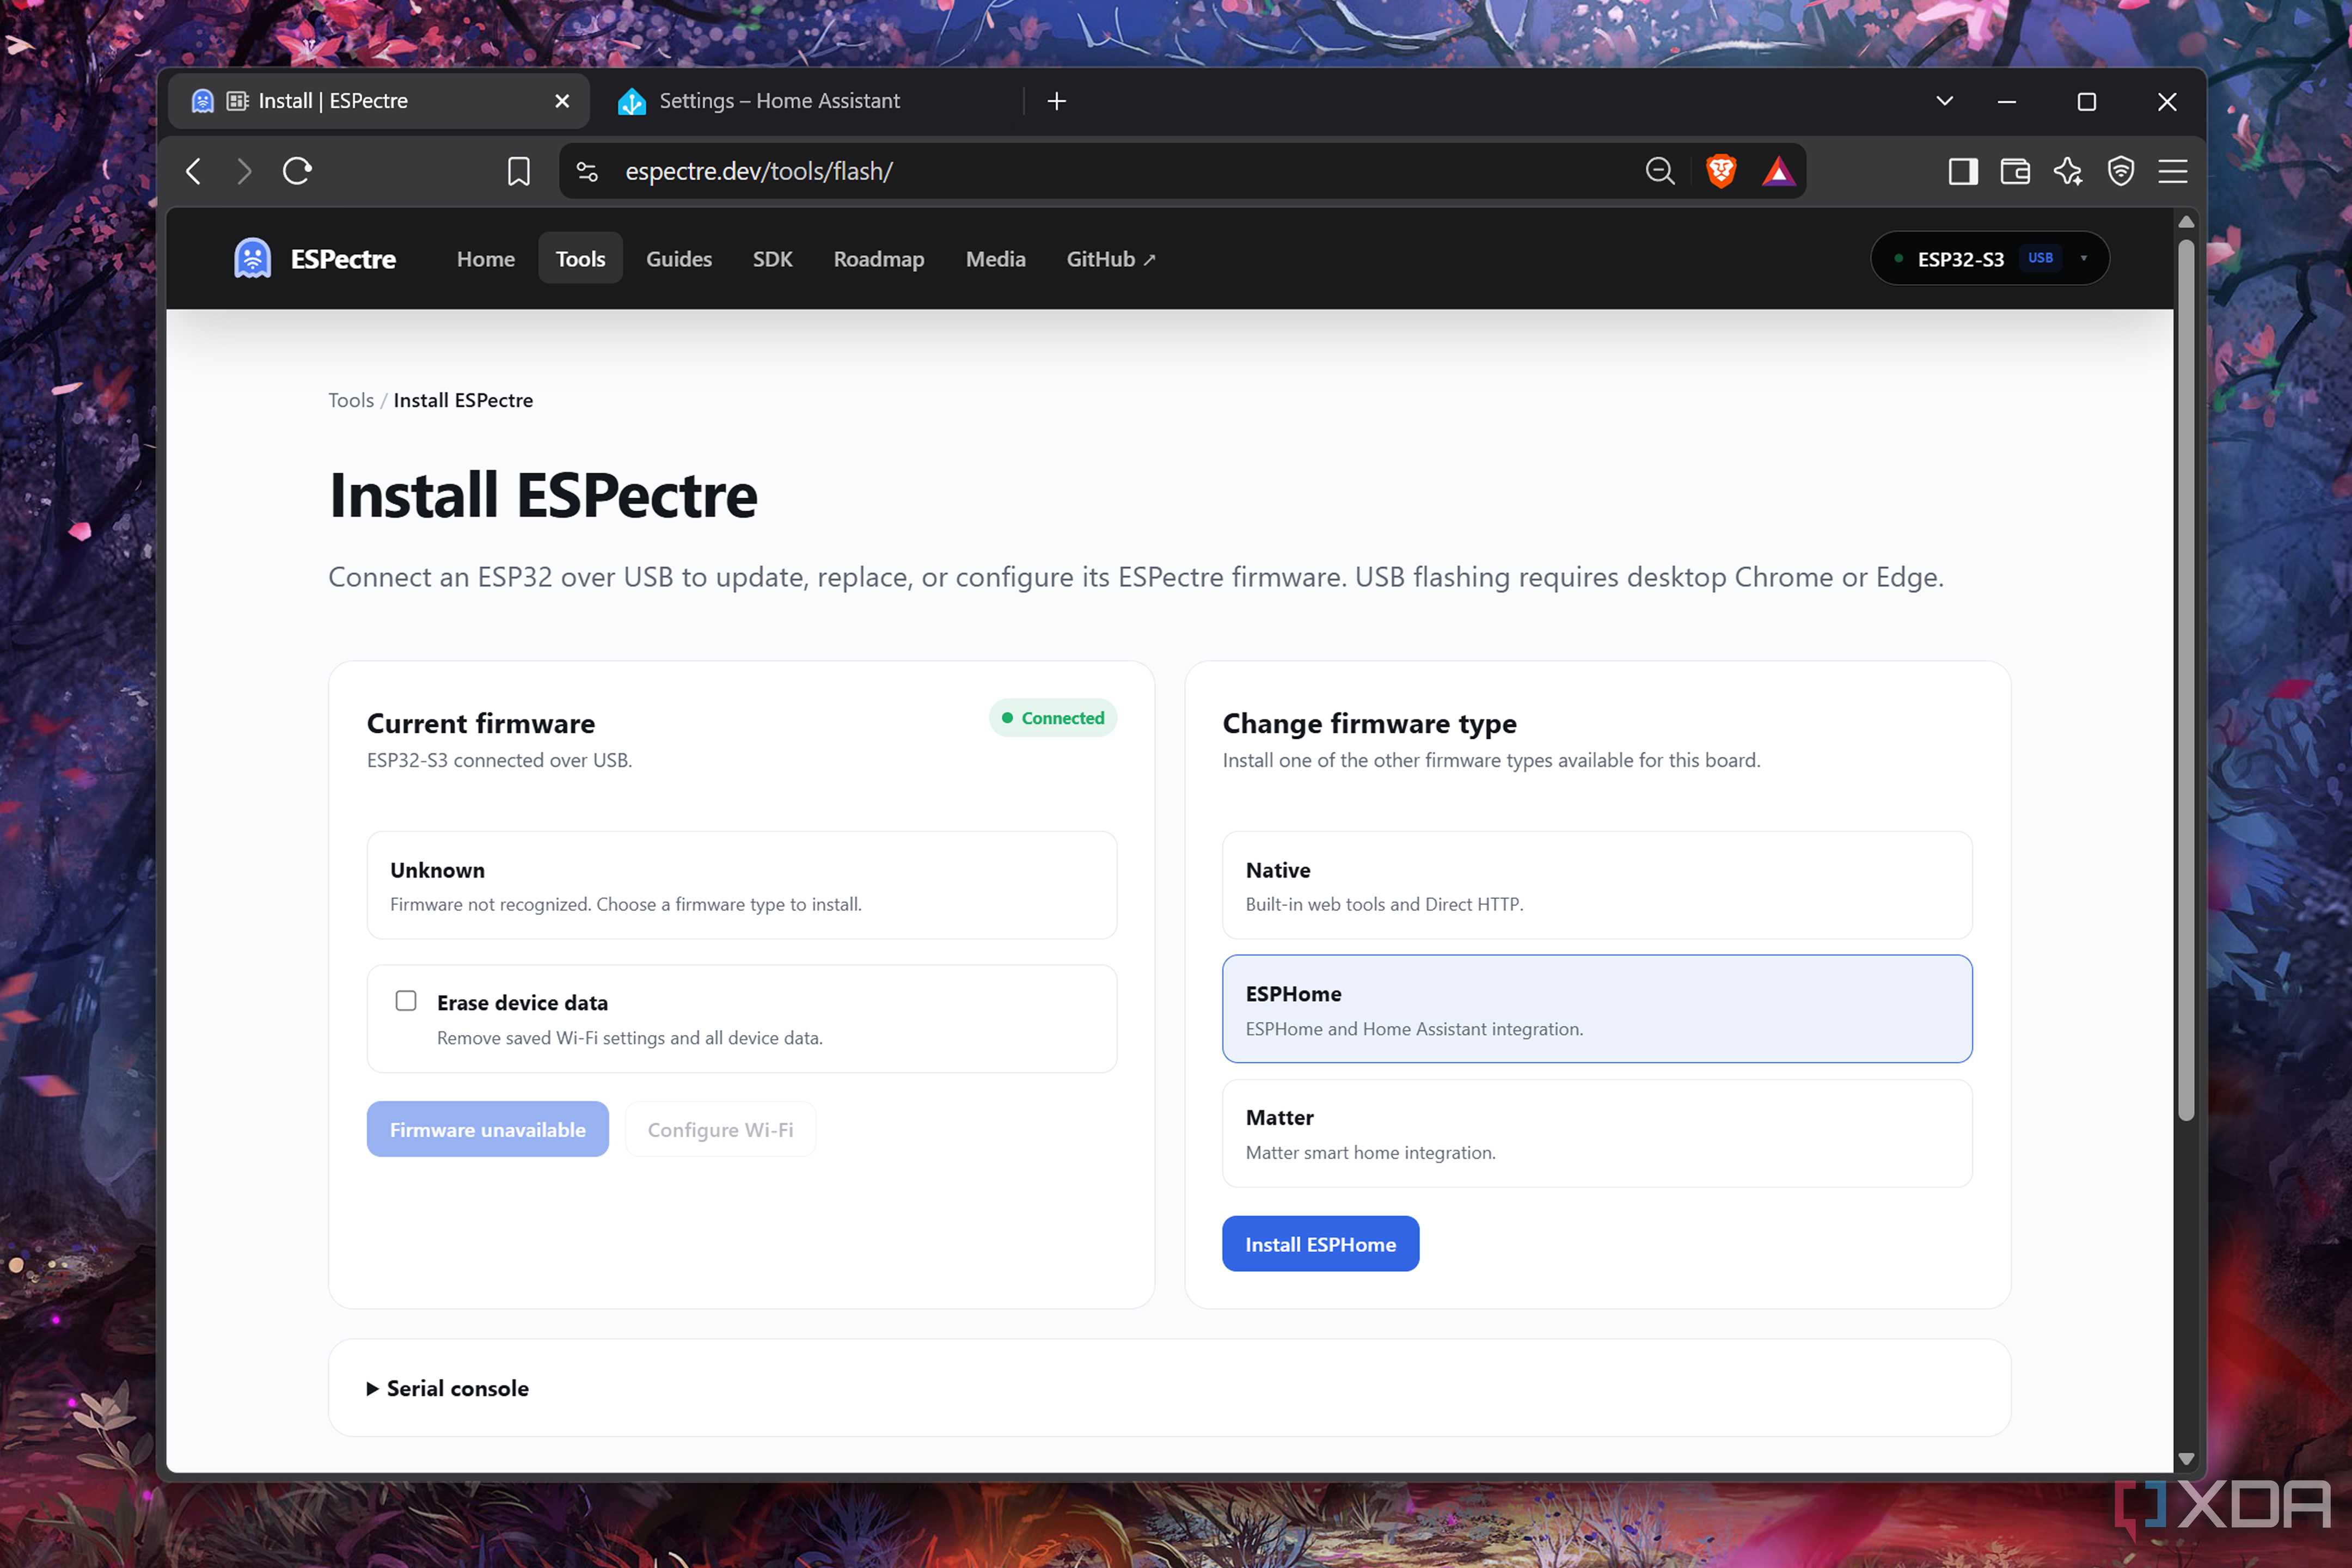
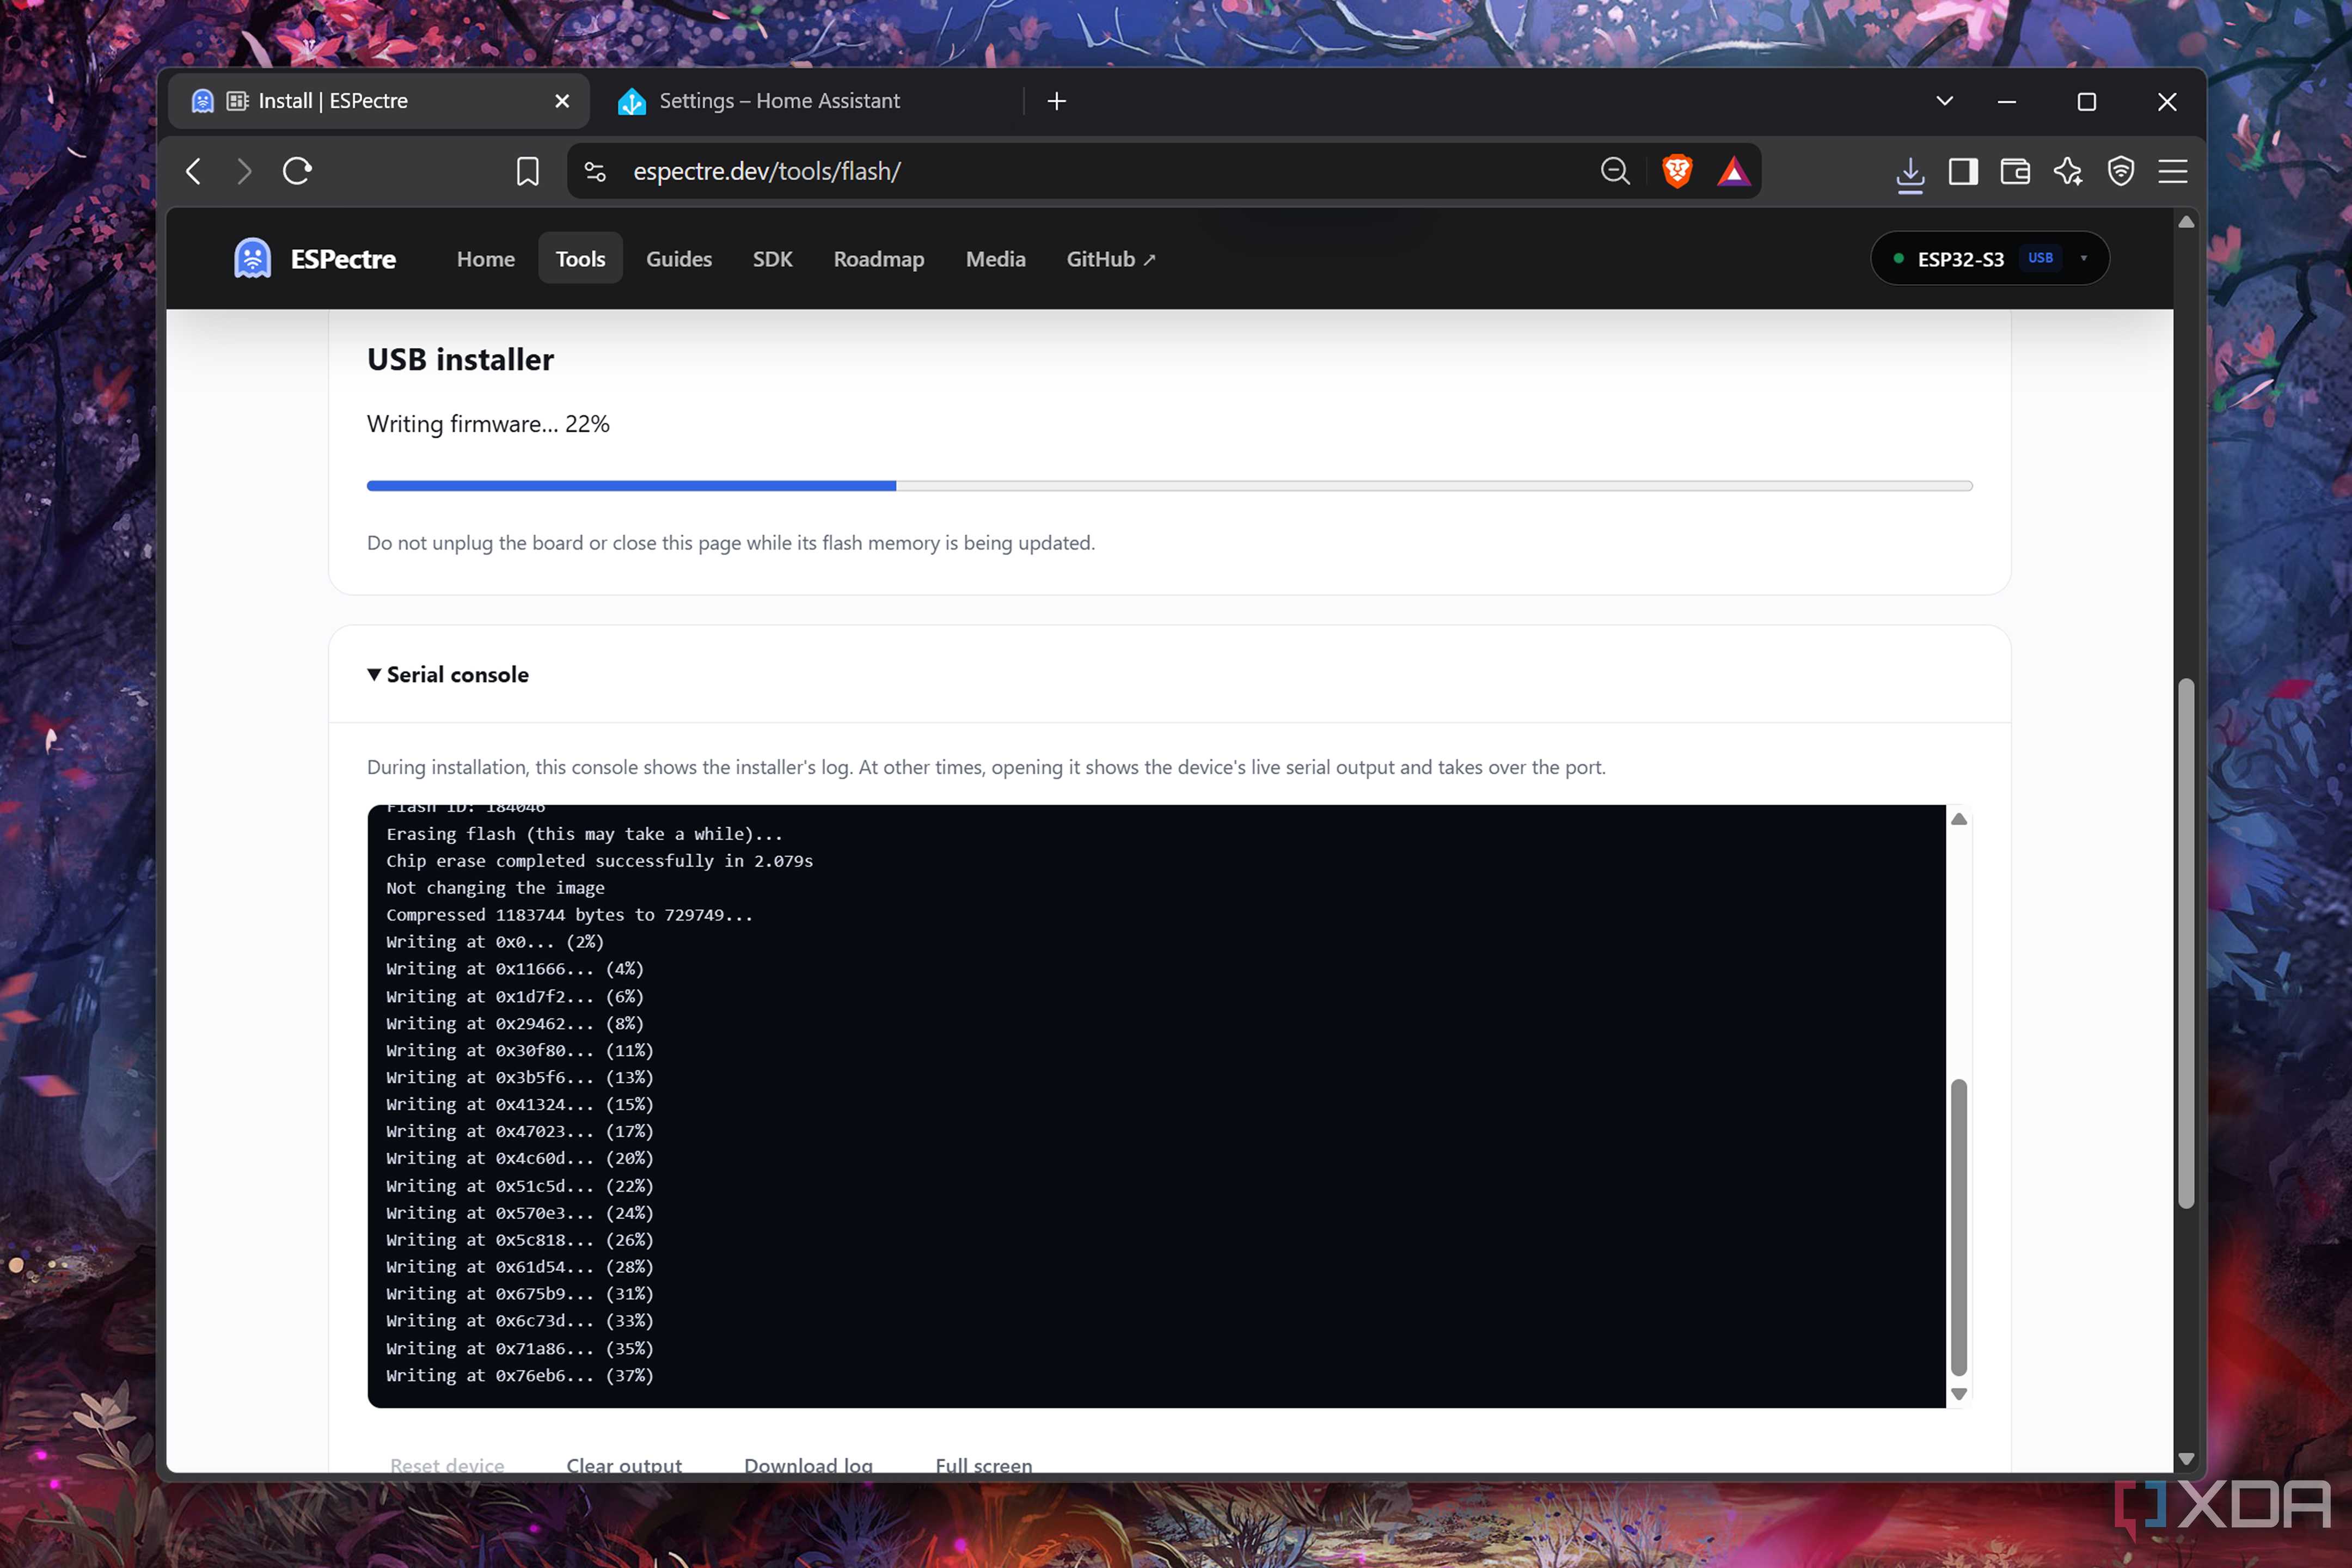
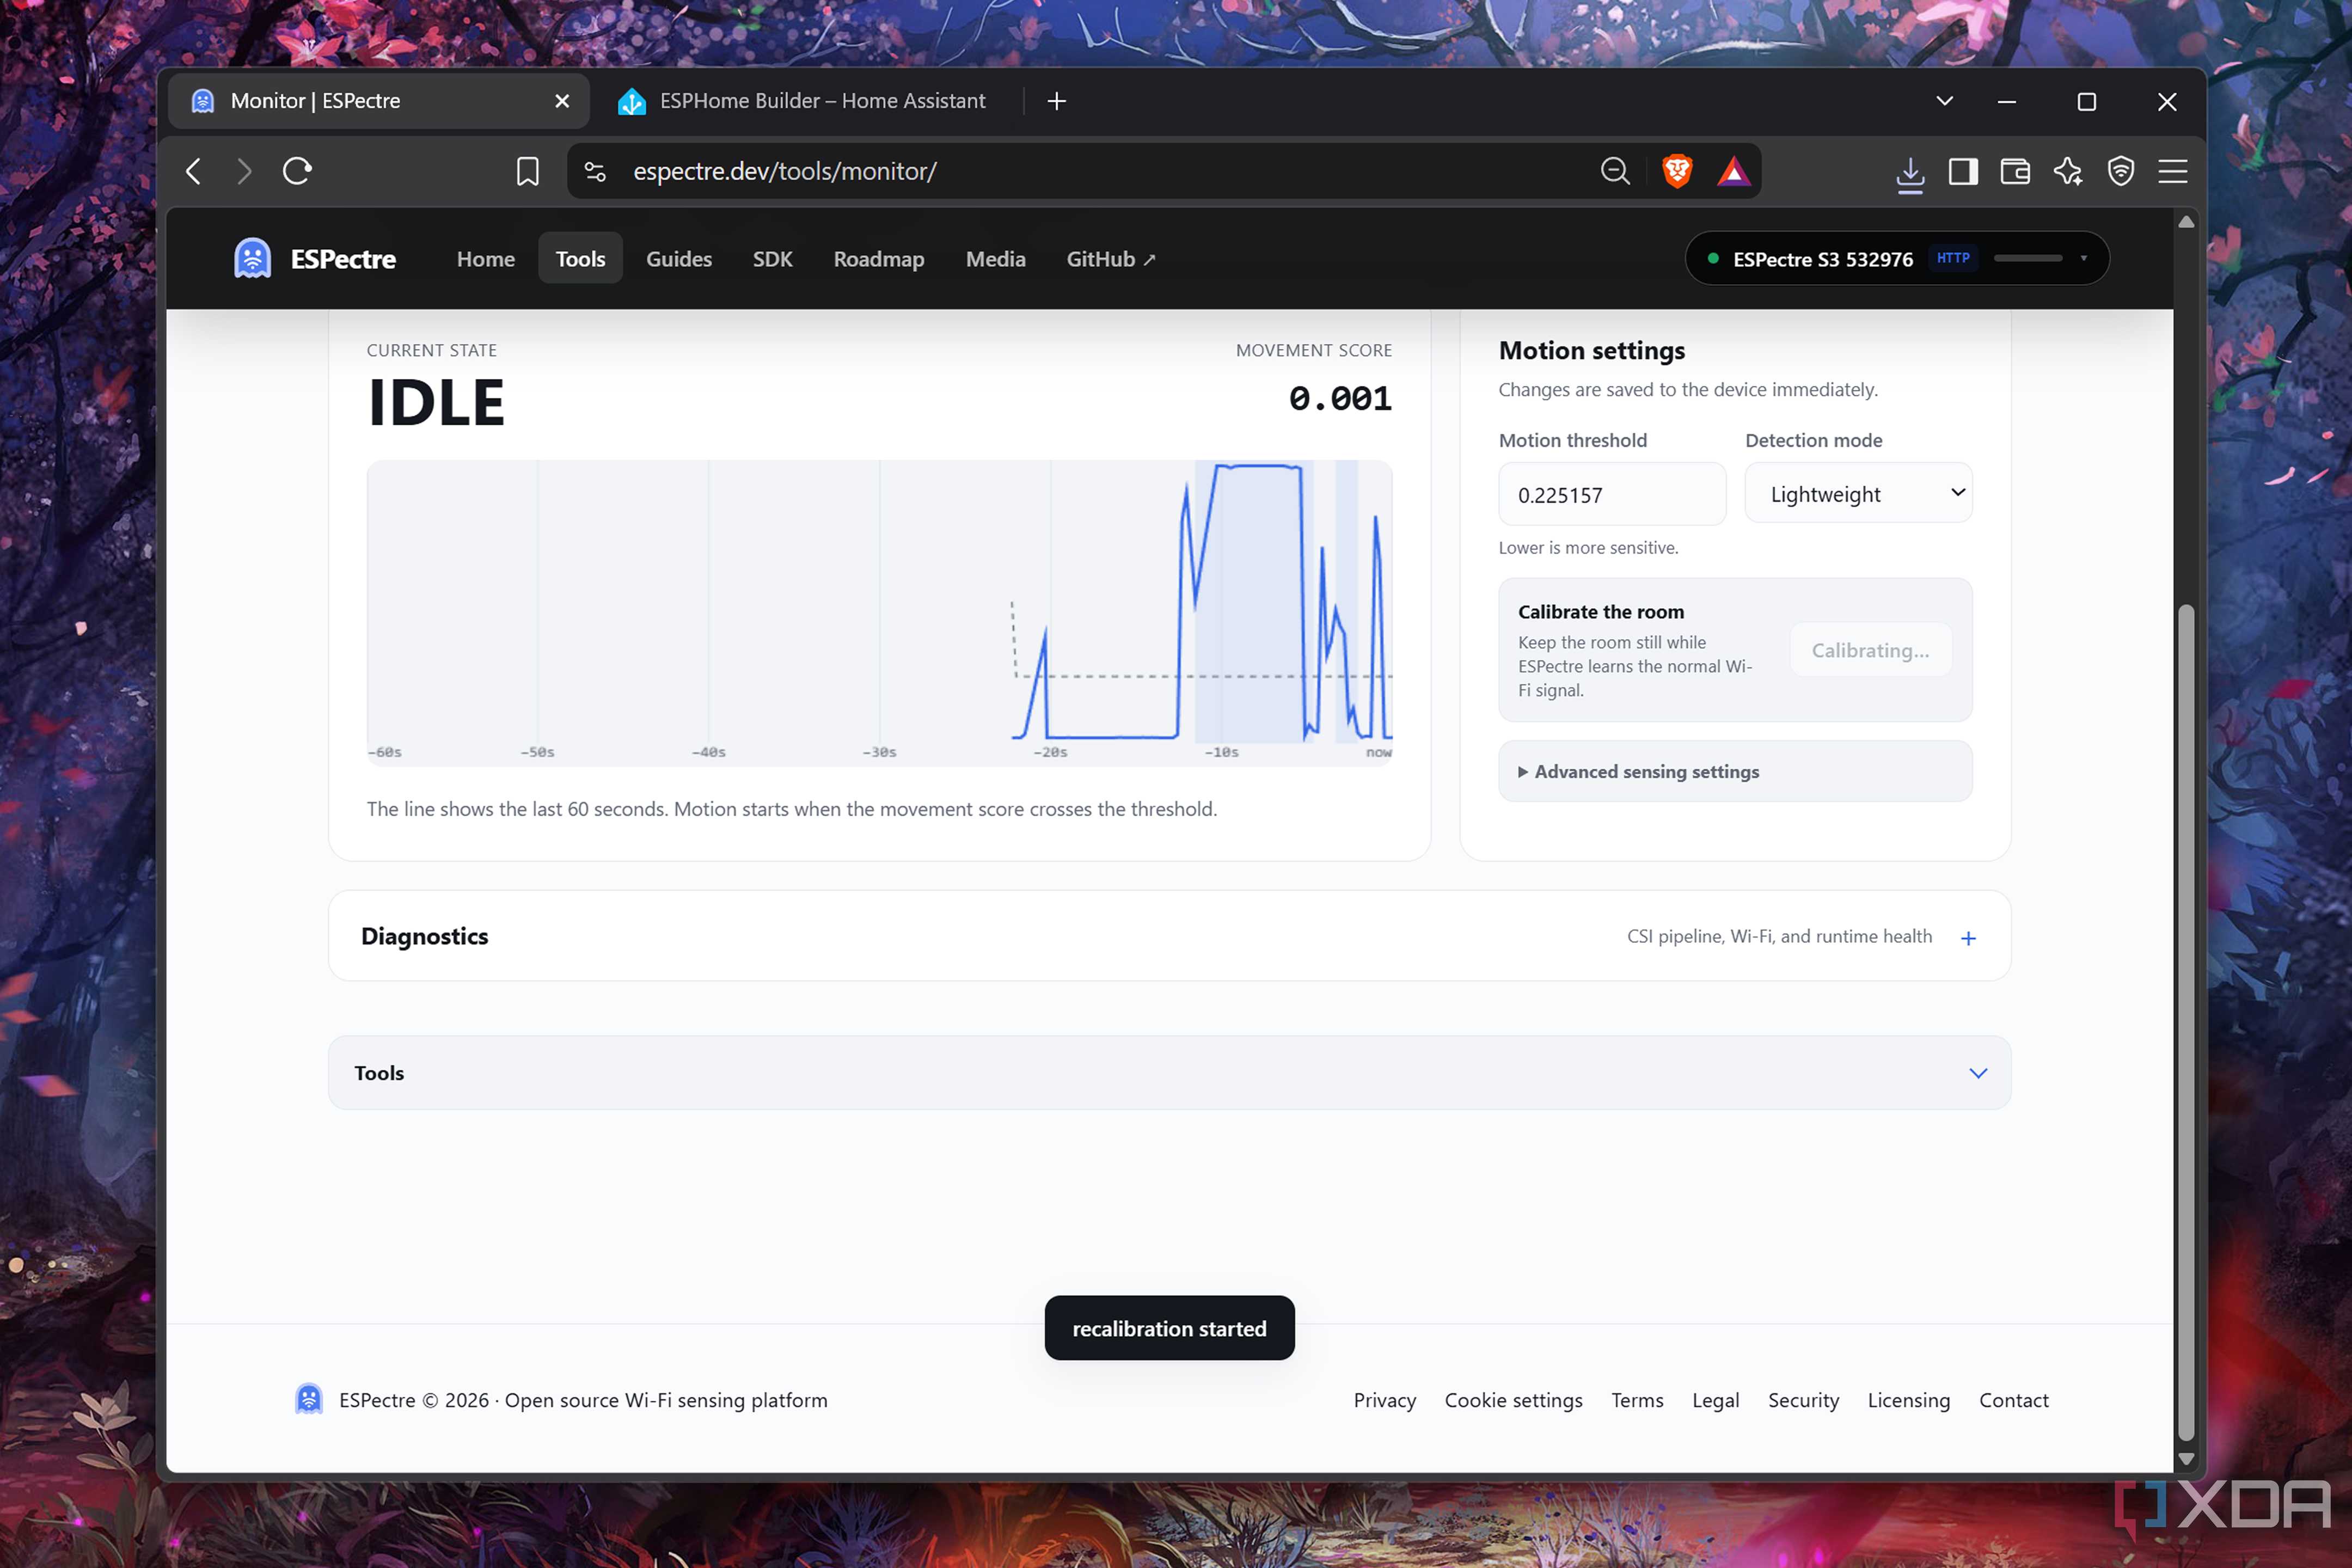
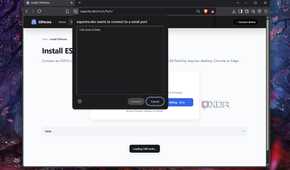
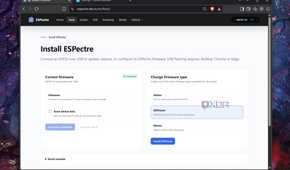
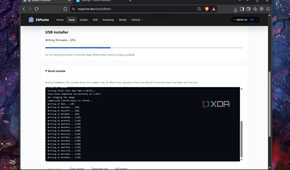

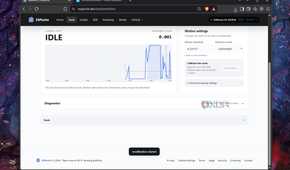
Switching gears to the practical side of this project, ESPectre supports four different firmware variants: there’s the direct HTTP server for standalone setups, a Matter-based system that’s still a work in progress, a lightweight MicroPython flavor, and an ESPHome version that supports Home Assistant as well. Needless to say, I went with the last option, and getting the project up and running was a cakewalk thanks to ESPectre’s web-based flashing tools.
Once I’d plugged a USB cable into the UART port on the ESP32-S3 (the right one on my microcontroller), I chose the ESPHome variant of ESPectre and agreed to overwrite the existing data on my MCU. Once the flashing part was complete, I switched to my mobile phone and logged into the fallback Wi-Fi hotspot created by my ESP32, where I added the SSID and Password of my WLAN connection. And that’s pretty much it.
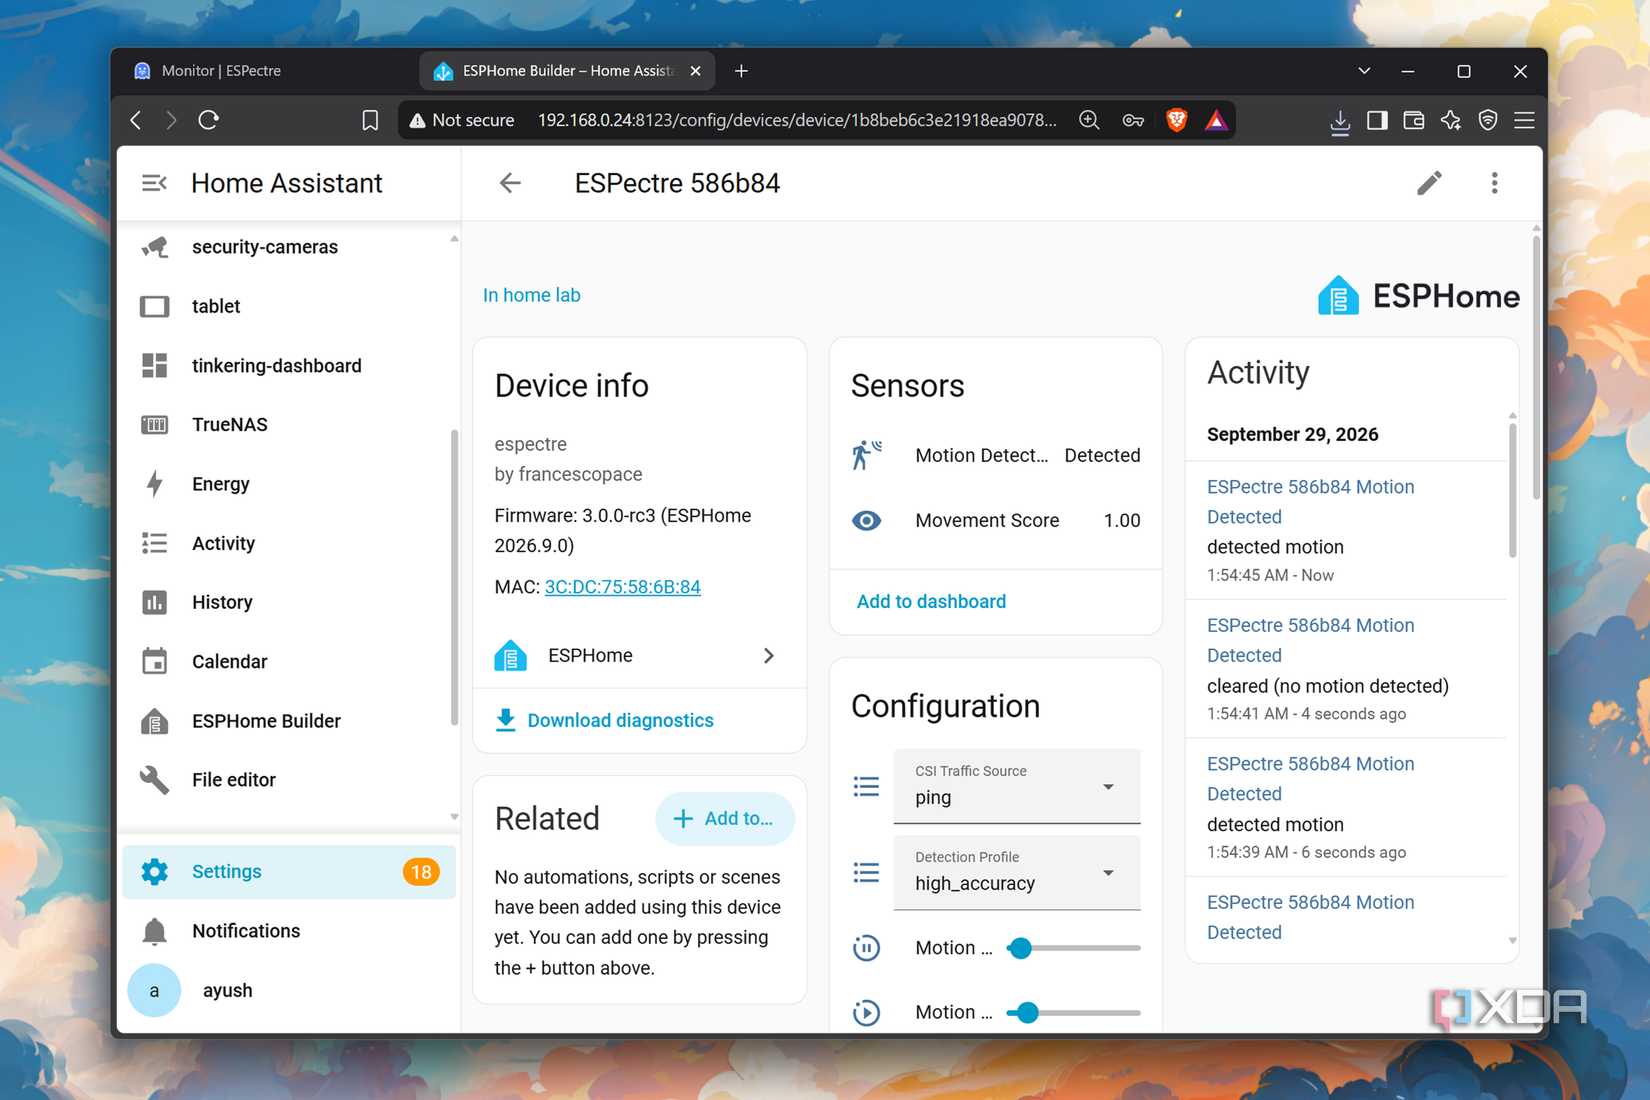
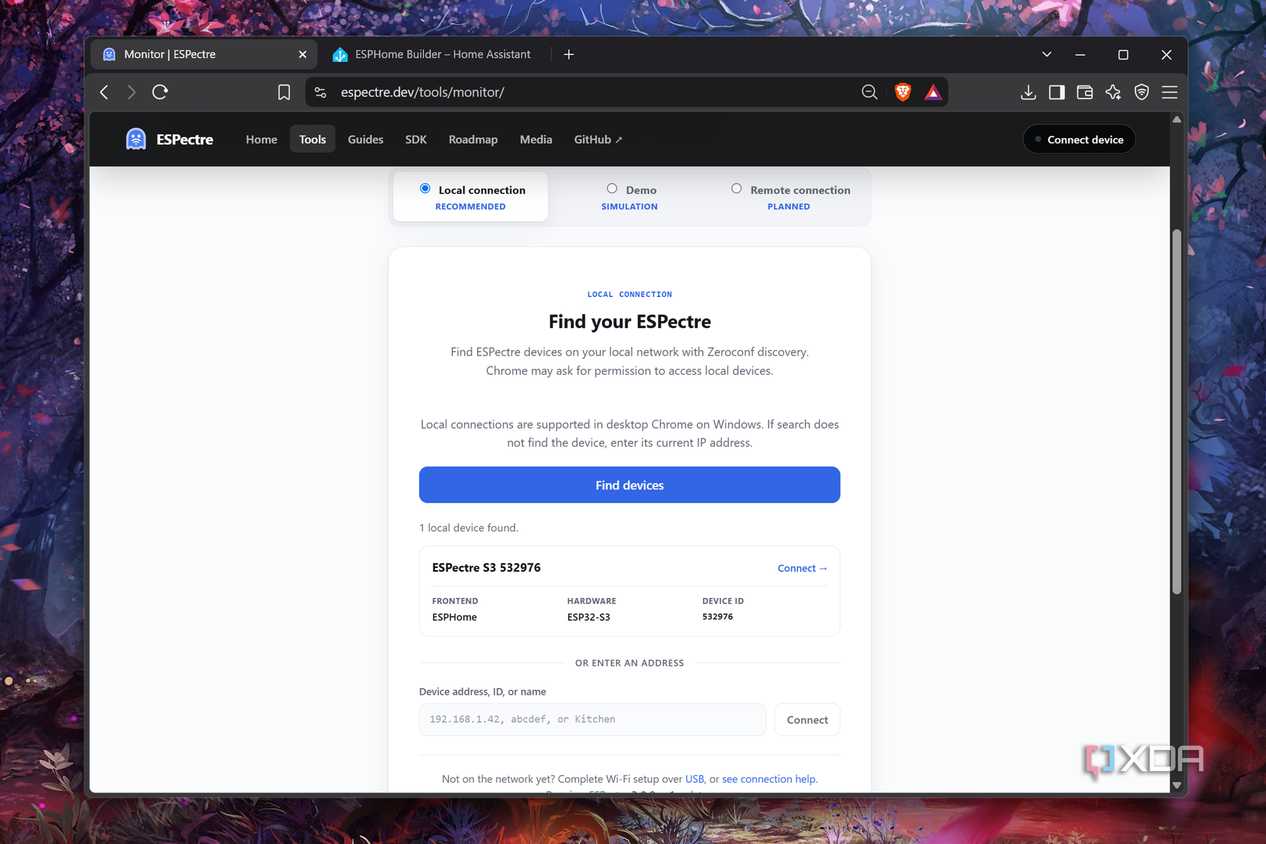
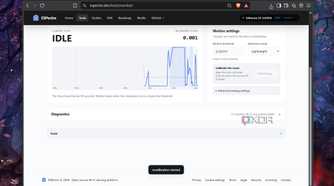
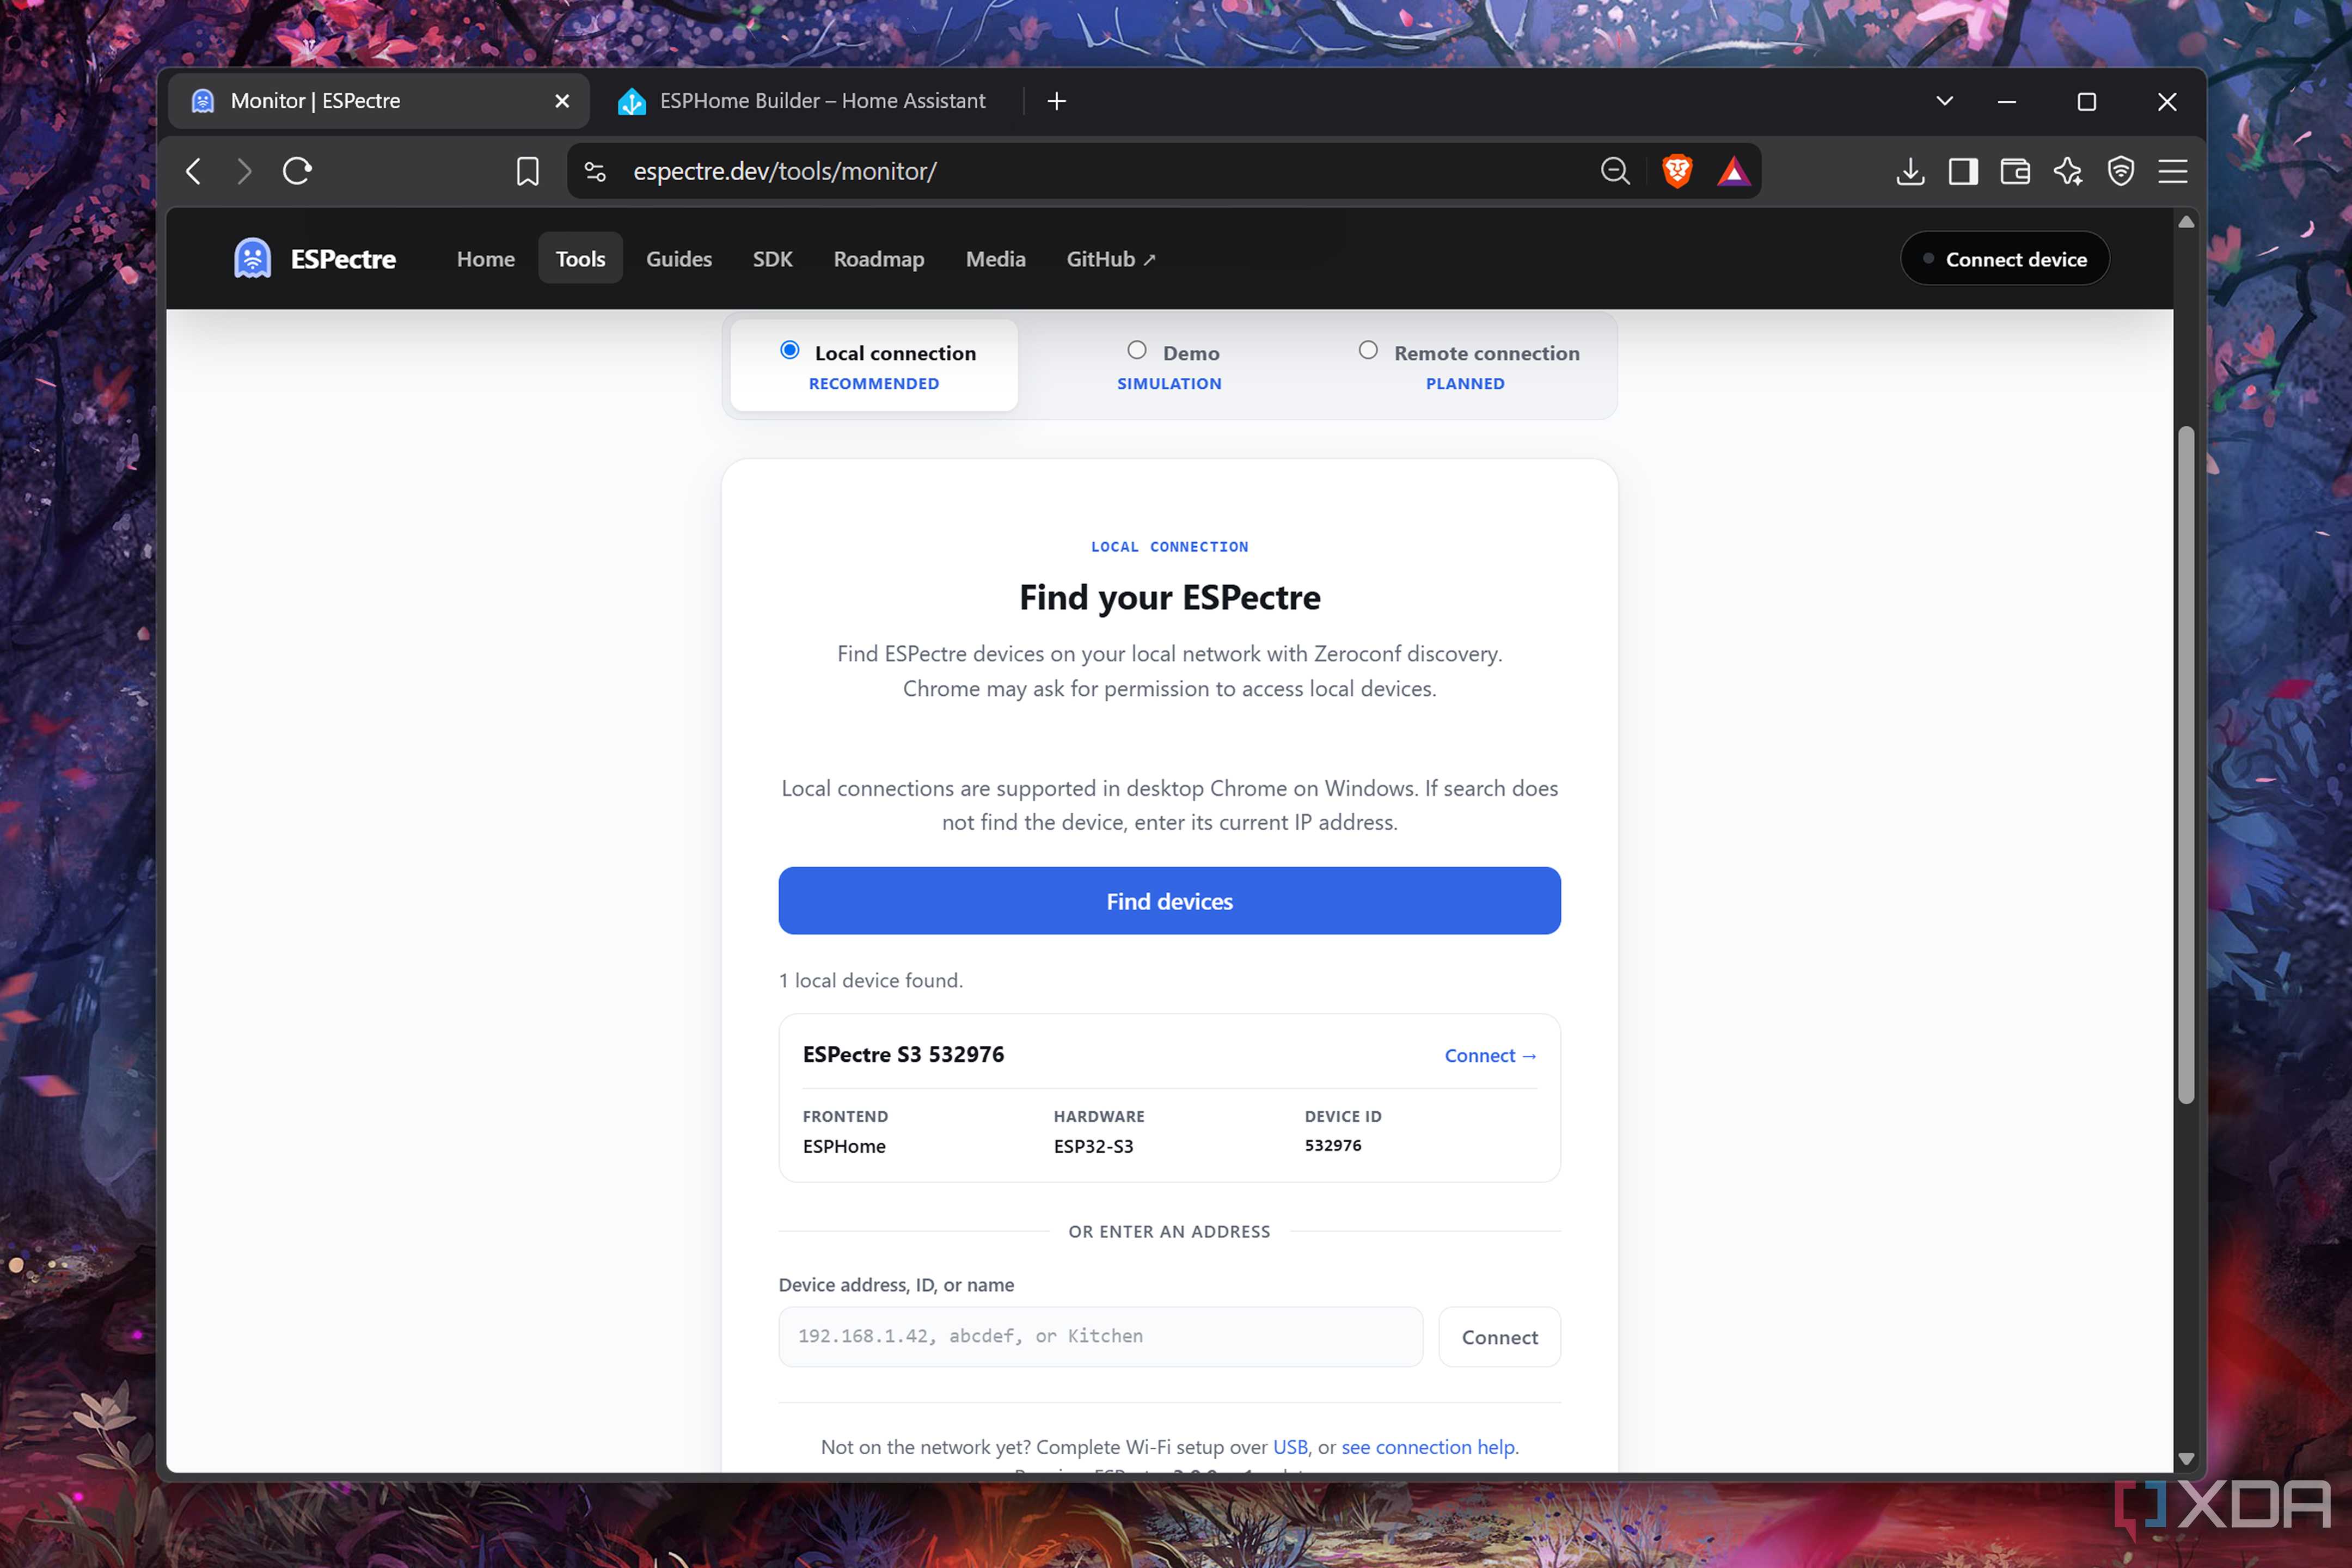
After switching to the Devices option, my ESP32 appeared immediately, and I was able to monitor the movement detection stats generated by ESPectre. Since the ideal distance between the MCU and a router is around 3 meters for this project, I moved the ESP-S3 to a different corner of the room. And I have to say, the detection metrics were surprisingly precise once I switched to the high accuracy profile. With that, I switched to my Home Assistant hub…
The real fun begins when I bring automation rules into the mix
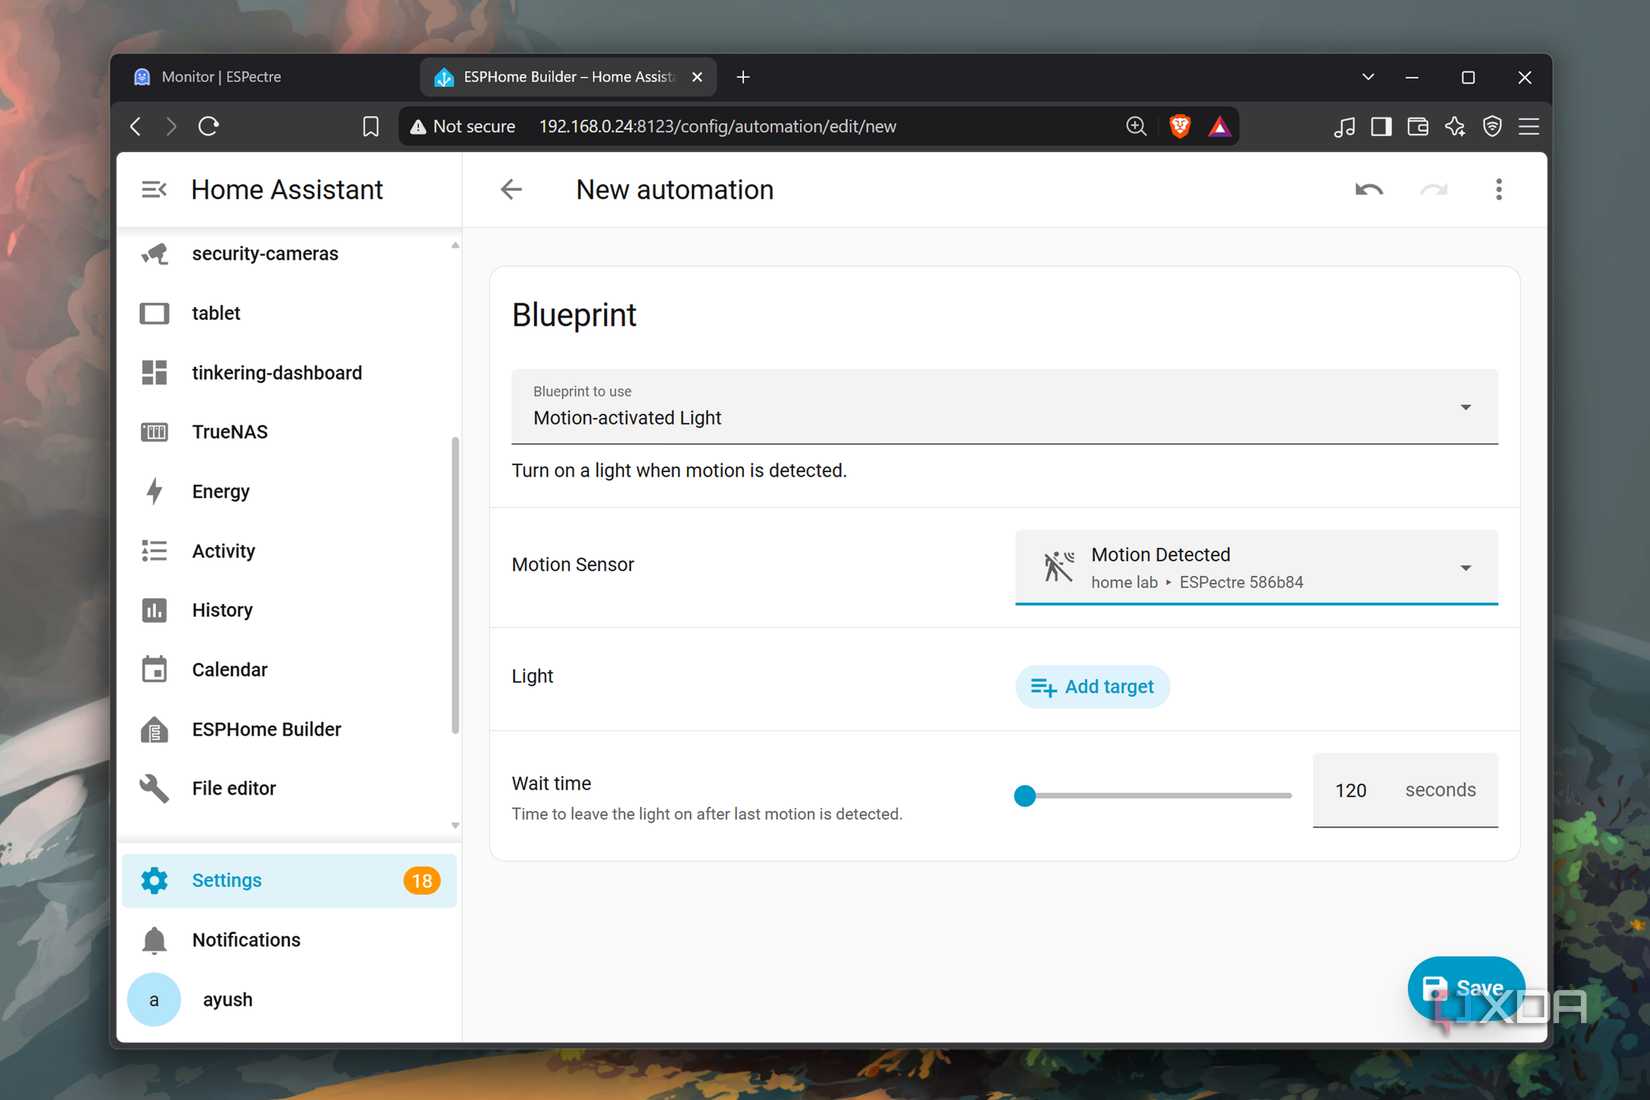
Combining ESPectre with my smart devices turned out to be just as simple, because the ESP32 popped up automatically inside the Devices section. Once I’d added it to my home lab room, I began fiddling with the different metrics pulled by my ESP32-S3. After all, Home Assistant recognizes the microcontroller as an entity, just like the other smart gizmos in my arsenal, and that opens doors to some quirky automations.
Since I’ve got the motion lights blueprint, I chose the ESPectre-powered board as the sensor module and picked some random smart lights in my room. Sure enough, the lights powered on as soon as I walked in front of my ESP32. Of course, I don’t plan to use motion-controlled systems for lighting up my rooms, as they wouldn’t record my presence when I’m stationary. But when it comes to pantry lights, hallway LEDs, and other areas where I’ll only pass by momentarily, ESPectre works pretty darn well.