요약
I didn't spend a second changing settings or reconnecting devices.
본문
 By
Brady Snyder
Published Aug 27, 2026, 11:00 AM EDT
Brady is a technology journalist for MakeUseOf with years of experience covering all things mobile, computing, and general tech. He has a focus on Android phones and audio gear, and holds a B.S. in Journalism from St. John's University.
By
Brady Snyder
Published Aug 27, 2026, 11:00 AM EDT
Brady is a technology journalist for MakeUseOf with years of experience covering all things mobile, computing, and general tech. He has a focus on Android phones and audio gear, and holds a B.S. in Journalism from St. John's University.Brady has written for publications like Android Central, Android Authority, XDA, Android Police, iMore, and others. He has experience reporting on major events held by Google, Apple, and Samsung, as well as trade shows like Lenovo Innovation World and IFA.
When he's not writing about and testing the latest gadgets, you'll find Brady watching Big East basketball and running. Sign in to your MakeUseOf account
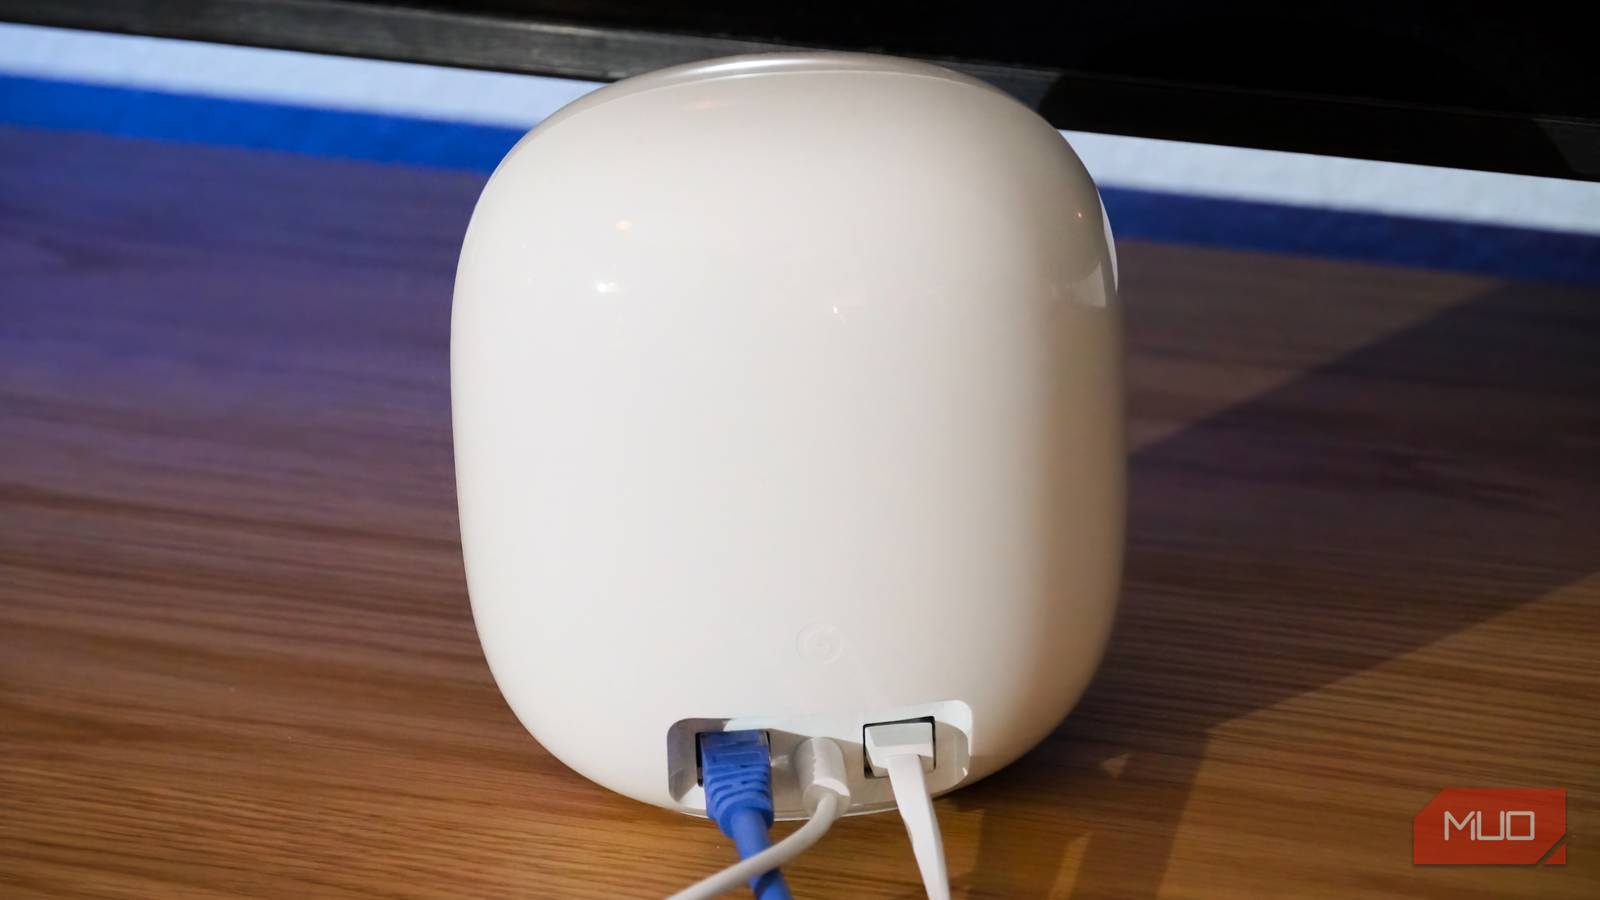
Your internet service provider (ISP) probably supplies a router for your home network, either for free or in exchange for a monthly rental fee. In my case, my apartment complex handles providing internet service for every unit, including a free ISP-supplied router. When I first got the keys, a combo modem and Wi-Fi 6E router was waiting for me in my new apartment. It would've been easy to use that free Wi-Fi 6E router, as it's fast enough for my Gigabit Ethernet connection. I decided to use my own Google Nest Wi-Fi Pro mesh router system instead, and it really paid off when I decided to move apartments.
When you own your Wi-Fi router, you can pick it up and take it with you when you move. That means all your devices, Wi-Fi settings, and smart home gadgets will carry over to your new home. I didn't have to spend a second on setup, router configuration, or troubleshooting. As soon as I hooked up my Nest Wi-Fi Pro router to the modem in my new apartment, everything started working right away.
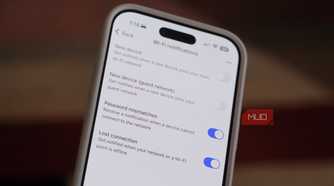
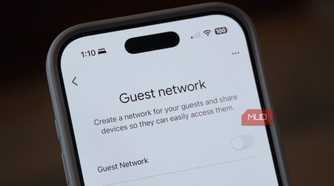
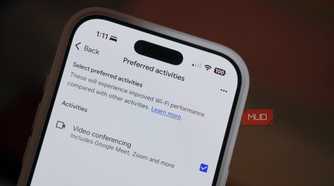
All my network settings immediately carried over
I didn't have to spend hours reconfiguring a network or activating features
 Credit: Brady Snyder / MakeUseOf
 Credit: Brady Snyder / MakeUseOf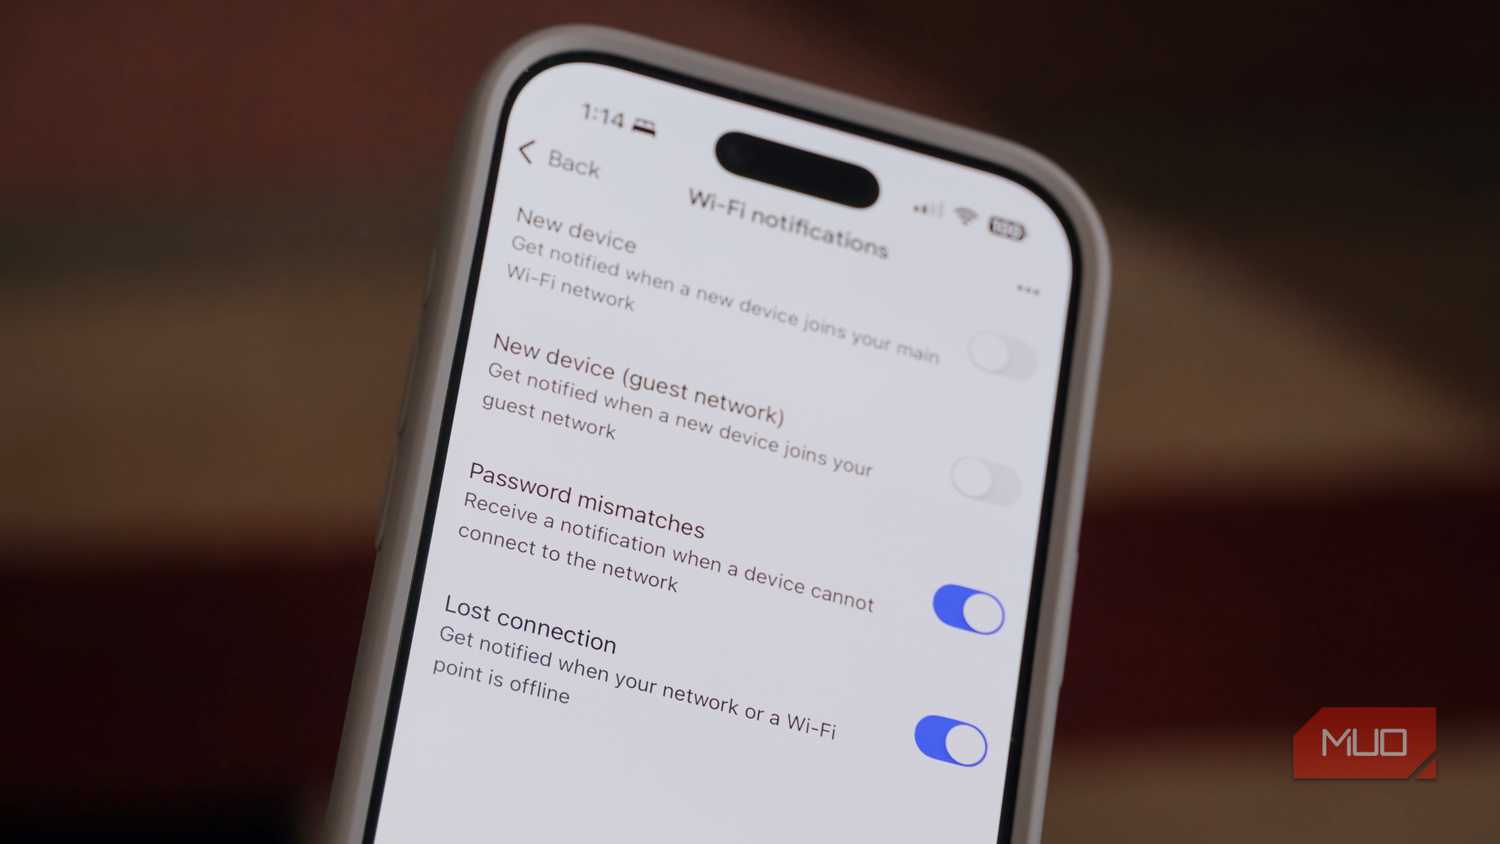
 Credit: Brady Snyder / MakeUseOf
 Credit: Brady Snyder / MakeUseOf
 Credit: Brady Snyder / MakeUseOf
 Credit: Brady Snyder / MakeUseOf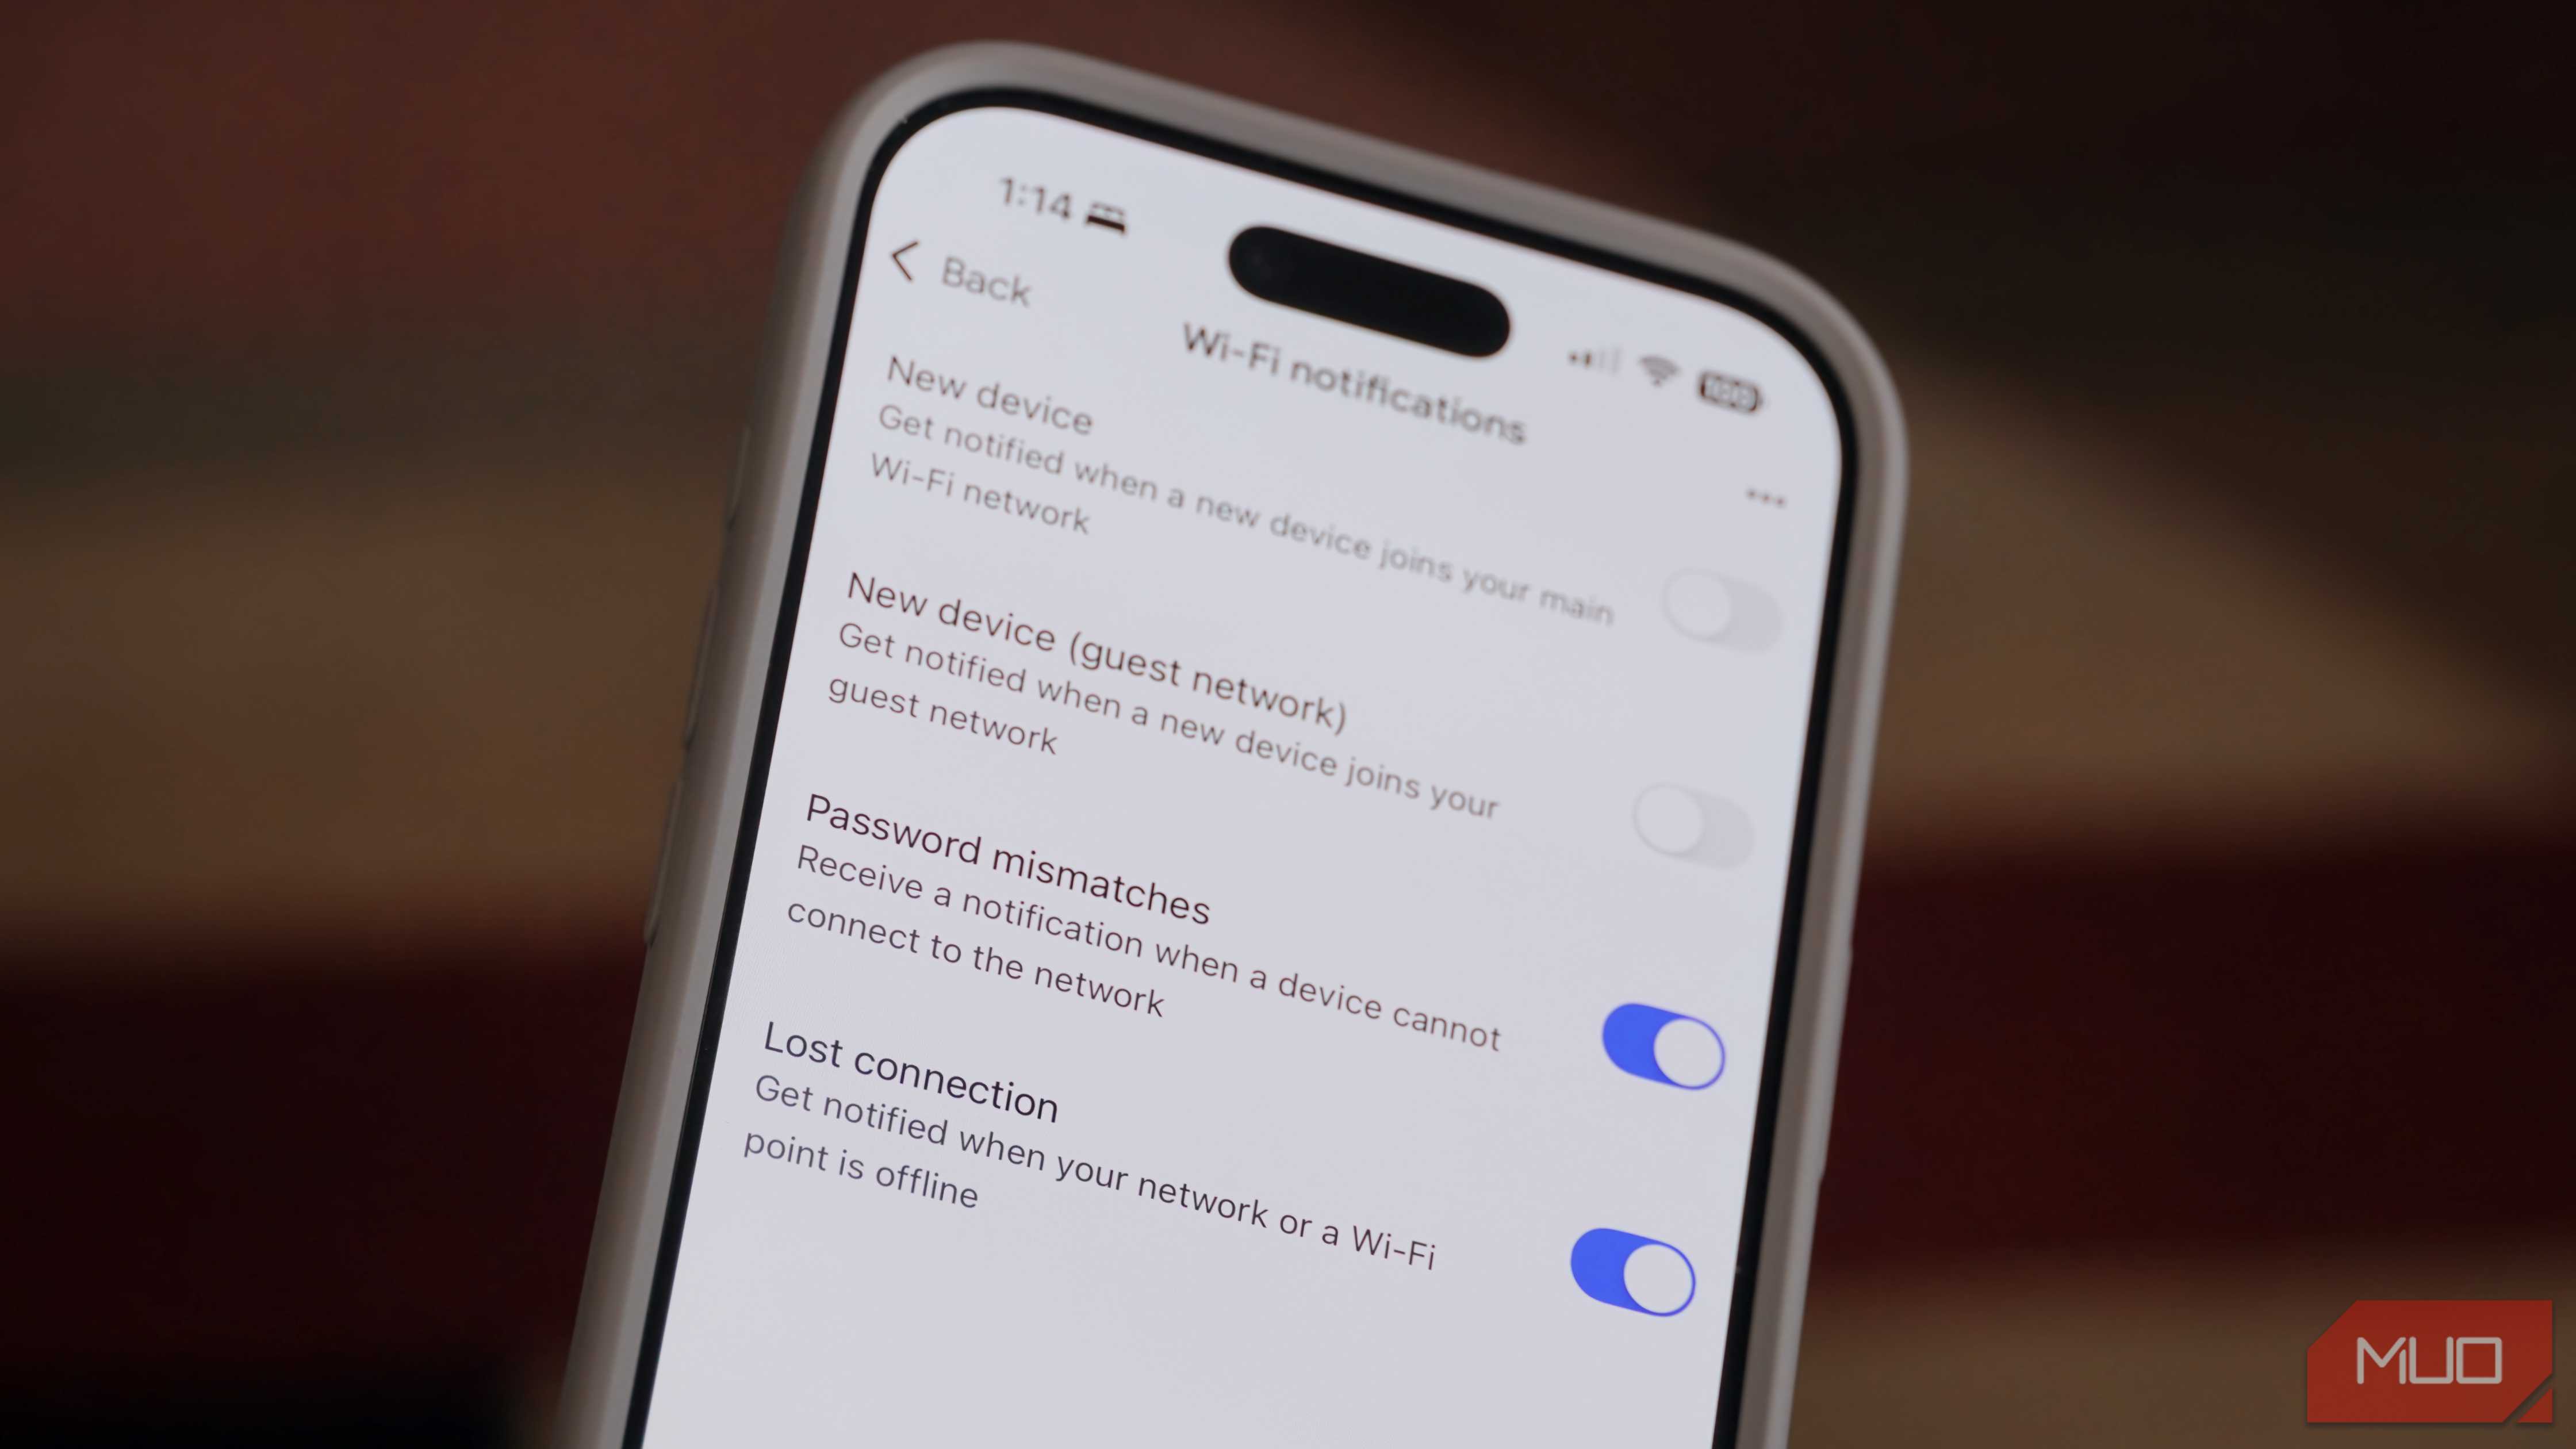
 Credit: Brady Snyder / MakeUseOf
 Credit: Brady Snyder / MakeUseOf
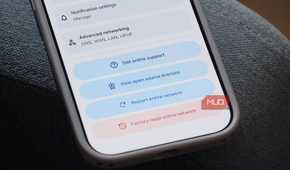
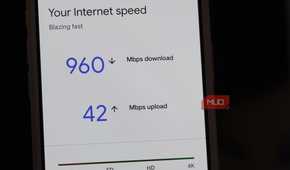
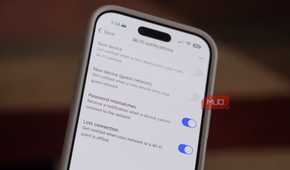
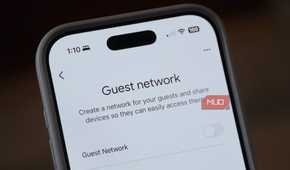
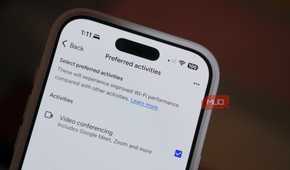
One of the best ways to improve your Wi-Fi speeds is to tweak your router's settings. For example, you can use a Wi-Fi analyzer app to figure out which 2.4GHz, 5GHz, and 6GHz channels are most congested. Then, you can manually select the channels that each Wi-Fi band uses, helping to avoid unnecessary interference. For an apartment dweller like me, settings like this one are crucial. In a complex with hundreds of units, there are many Wi-Fi networks and heaps of devices that can cause channel congestion and interference.
You might also want to change your default Domain Name System (DNS), as this can drastically affect how fast your network feels. There isn't a single DNS that's best for everyone, because the fastest one for your network depends on your physical location. However, changing your DNS at the router level is more efficient than trying to adjust settings manually on every device you own. You can set up features across your entire network, like Quality of Service (QoS), which prioritizes certain devices over others.
In addition to the usual router settings, I can set up Preferred Activities on my Nest Wi-Fi Pro to prioritize speed and bandwidth during video calls. I can set up a guest network, and use Nest Wi-Fi cloud services to improve network performance.
If you spend time tweaking your ISP-supplied router settings, you'll be in for a headache when it's time to move. You'll need to reconfigure your new router with all the same configurations. If you didn't have the foresight to review and save your old router's settings, you may struggle to replicate your old configurations on the new router. After all, router tweaks rarely happen all at once — you keep changing your Wi-Fi network setting as the conditions and your needs change. By using my own router, I carried every setting and configuration over to my new apartment without spending a minute on setup.
Every device in my home connected instantly
With an ISP-supplied router, I'd have to manage a new SSID and password

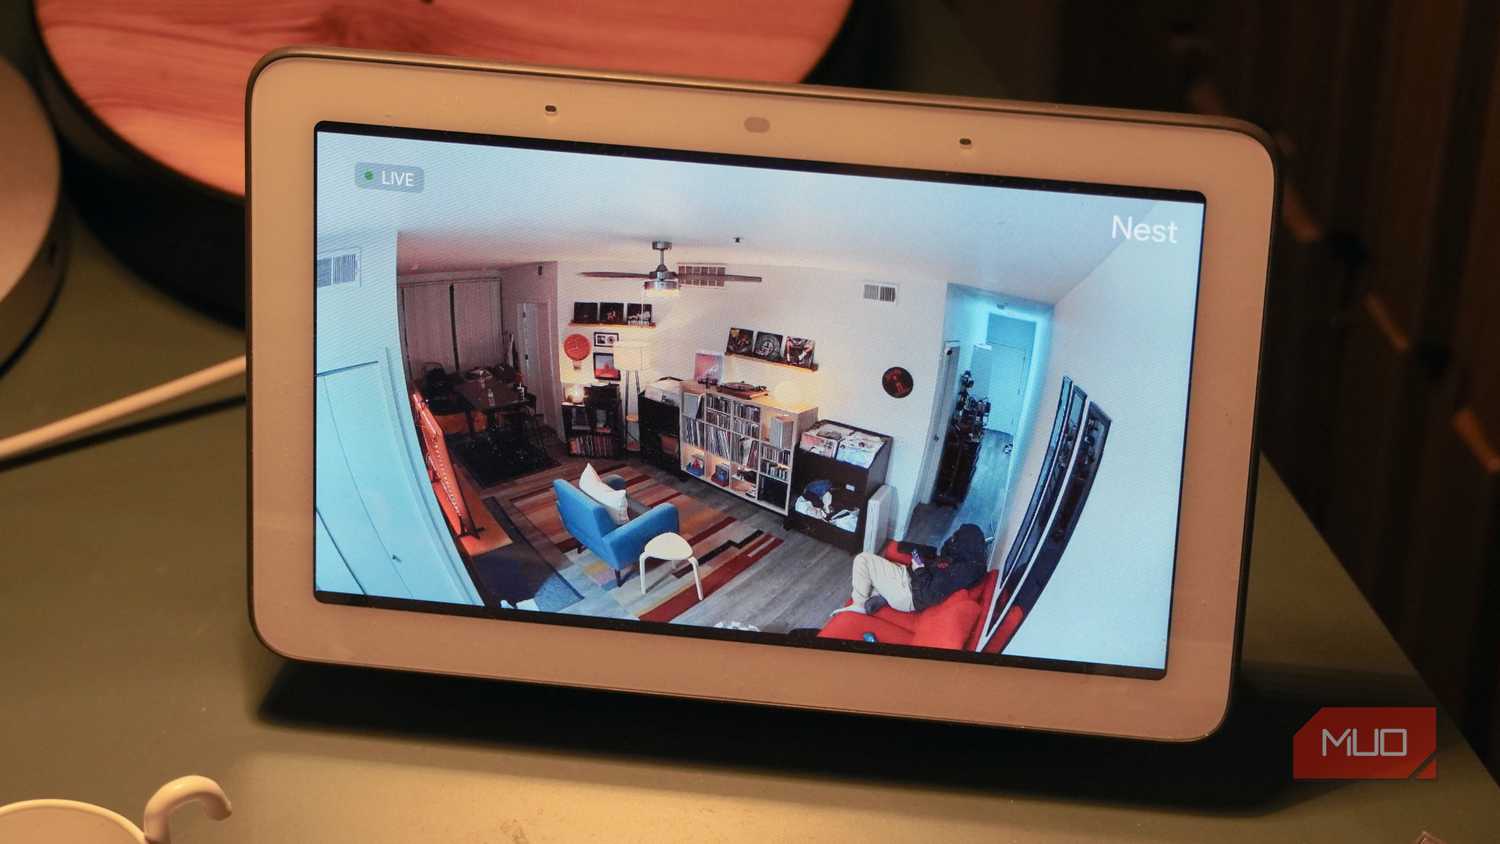

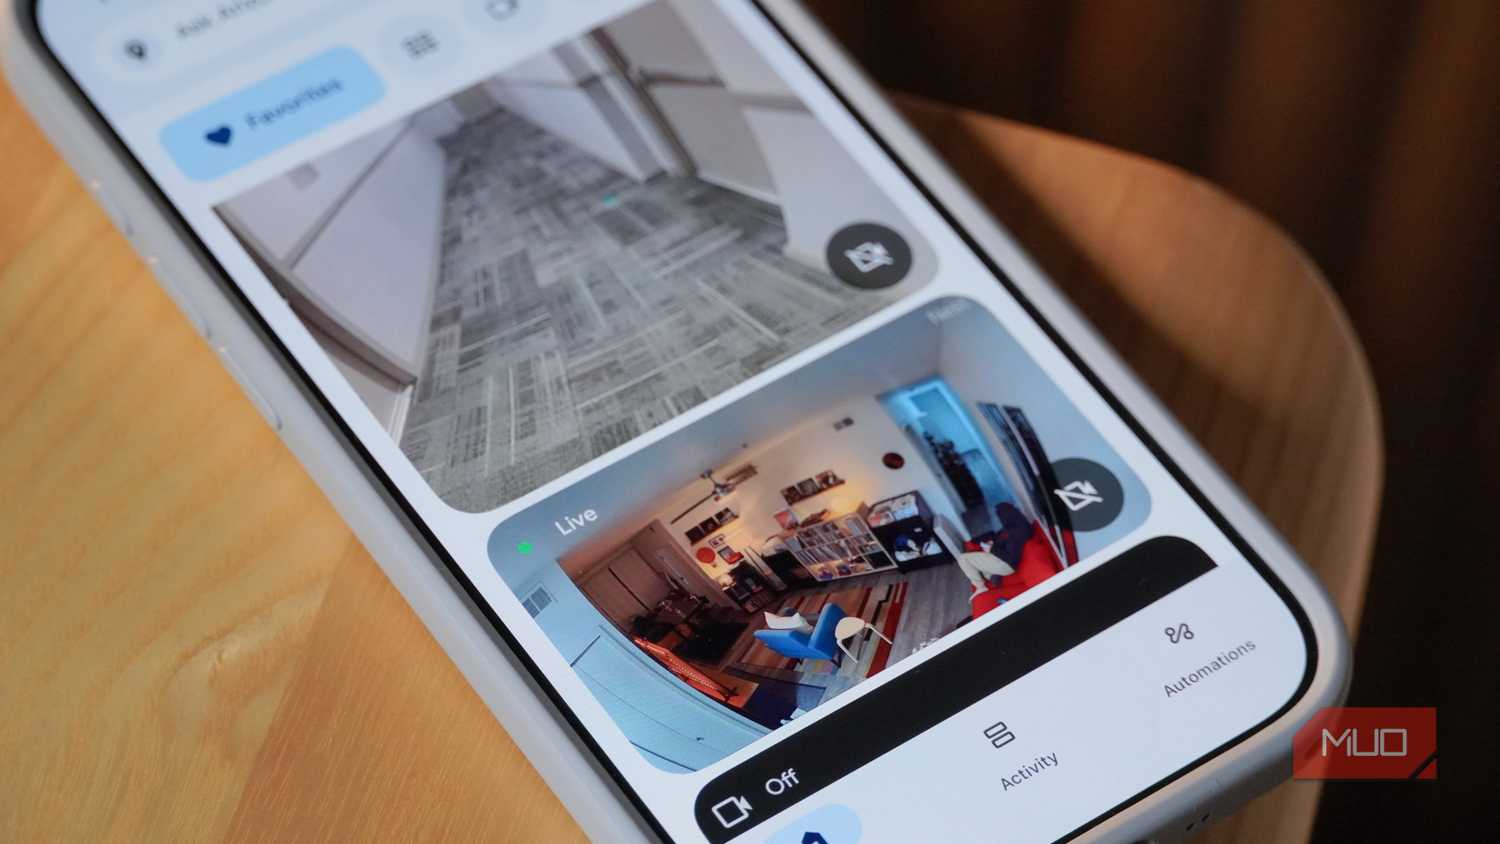
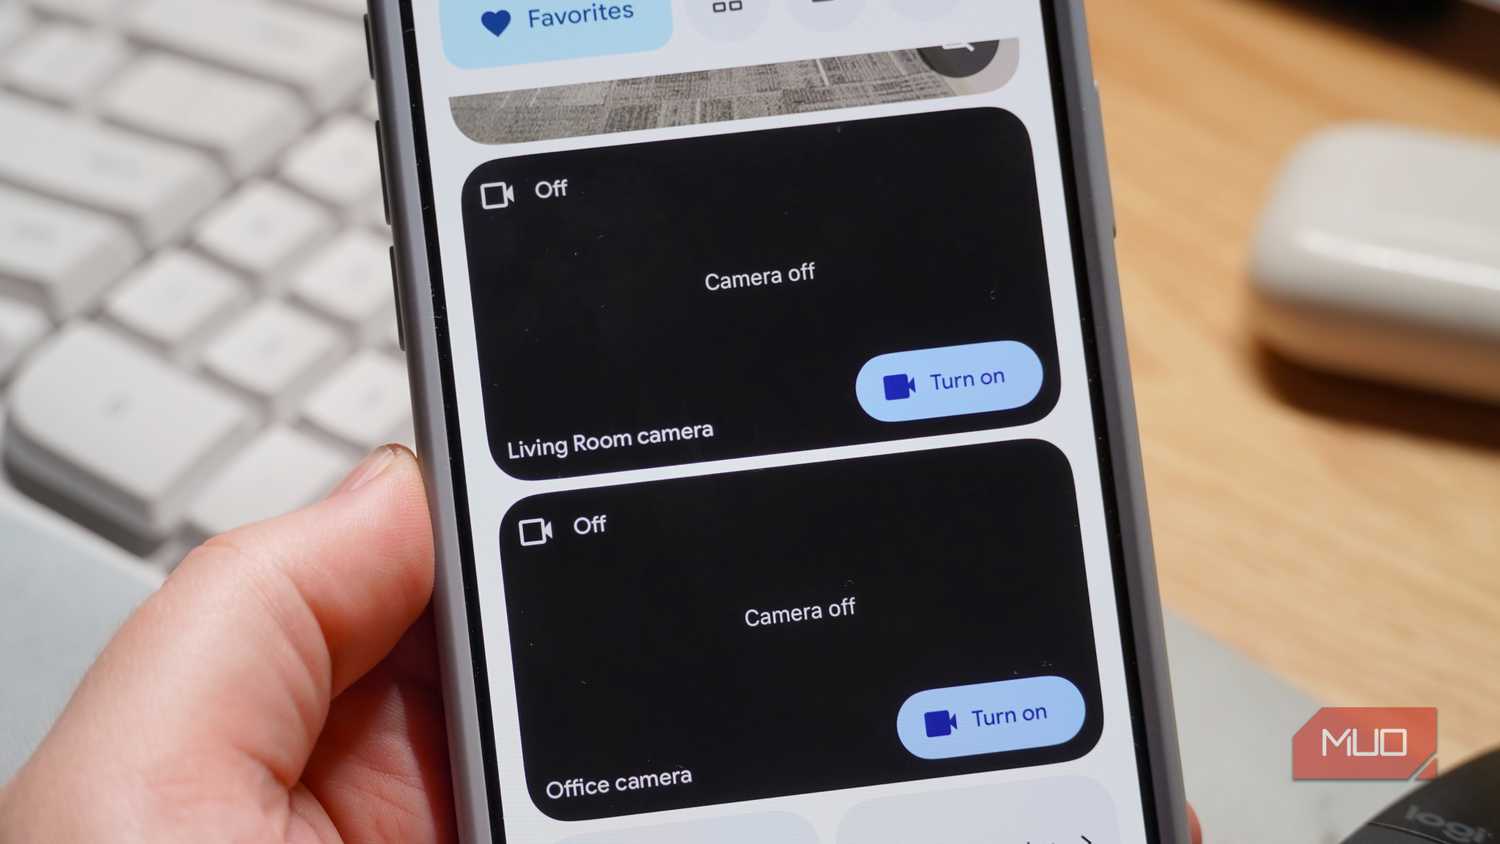

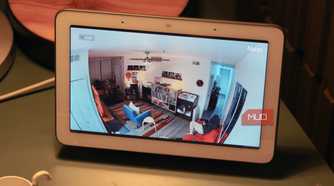

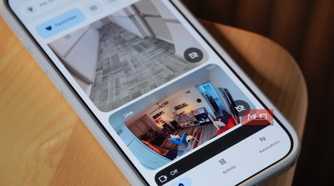
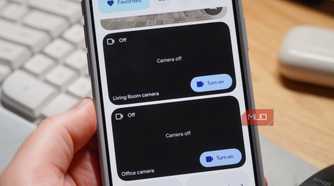

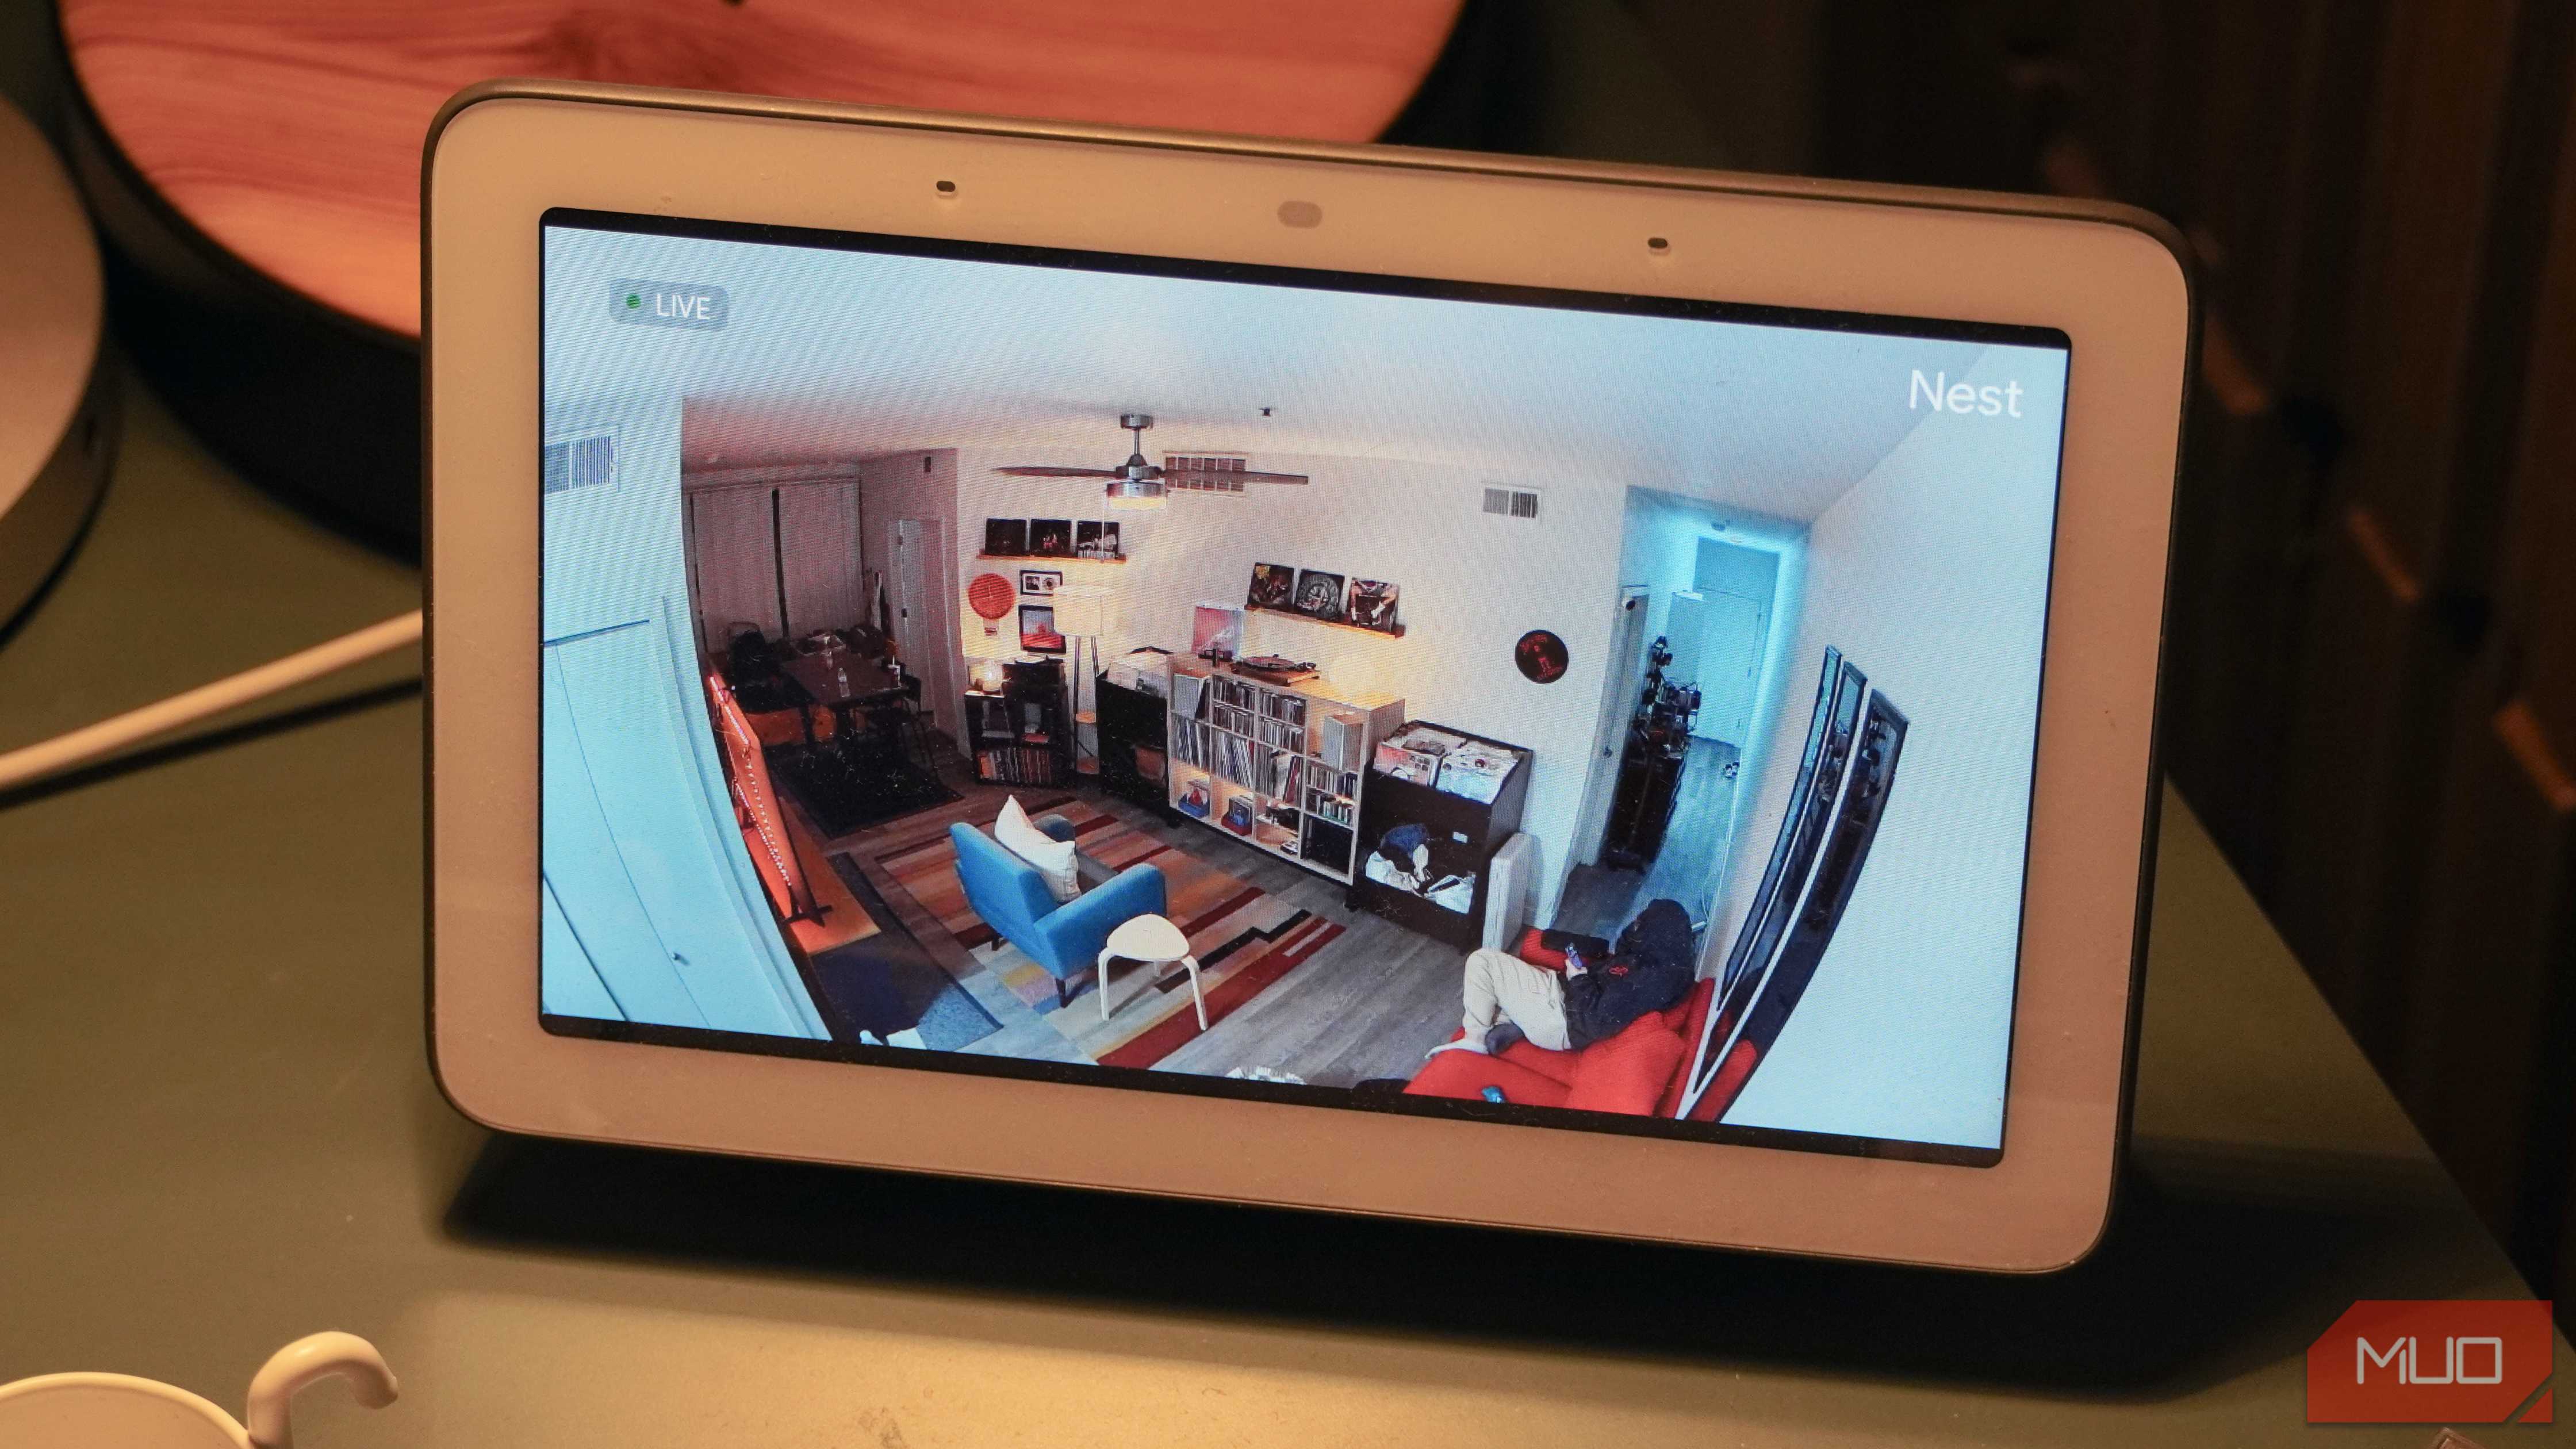

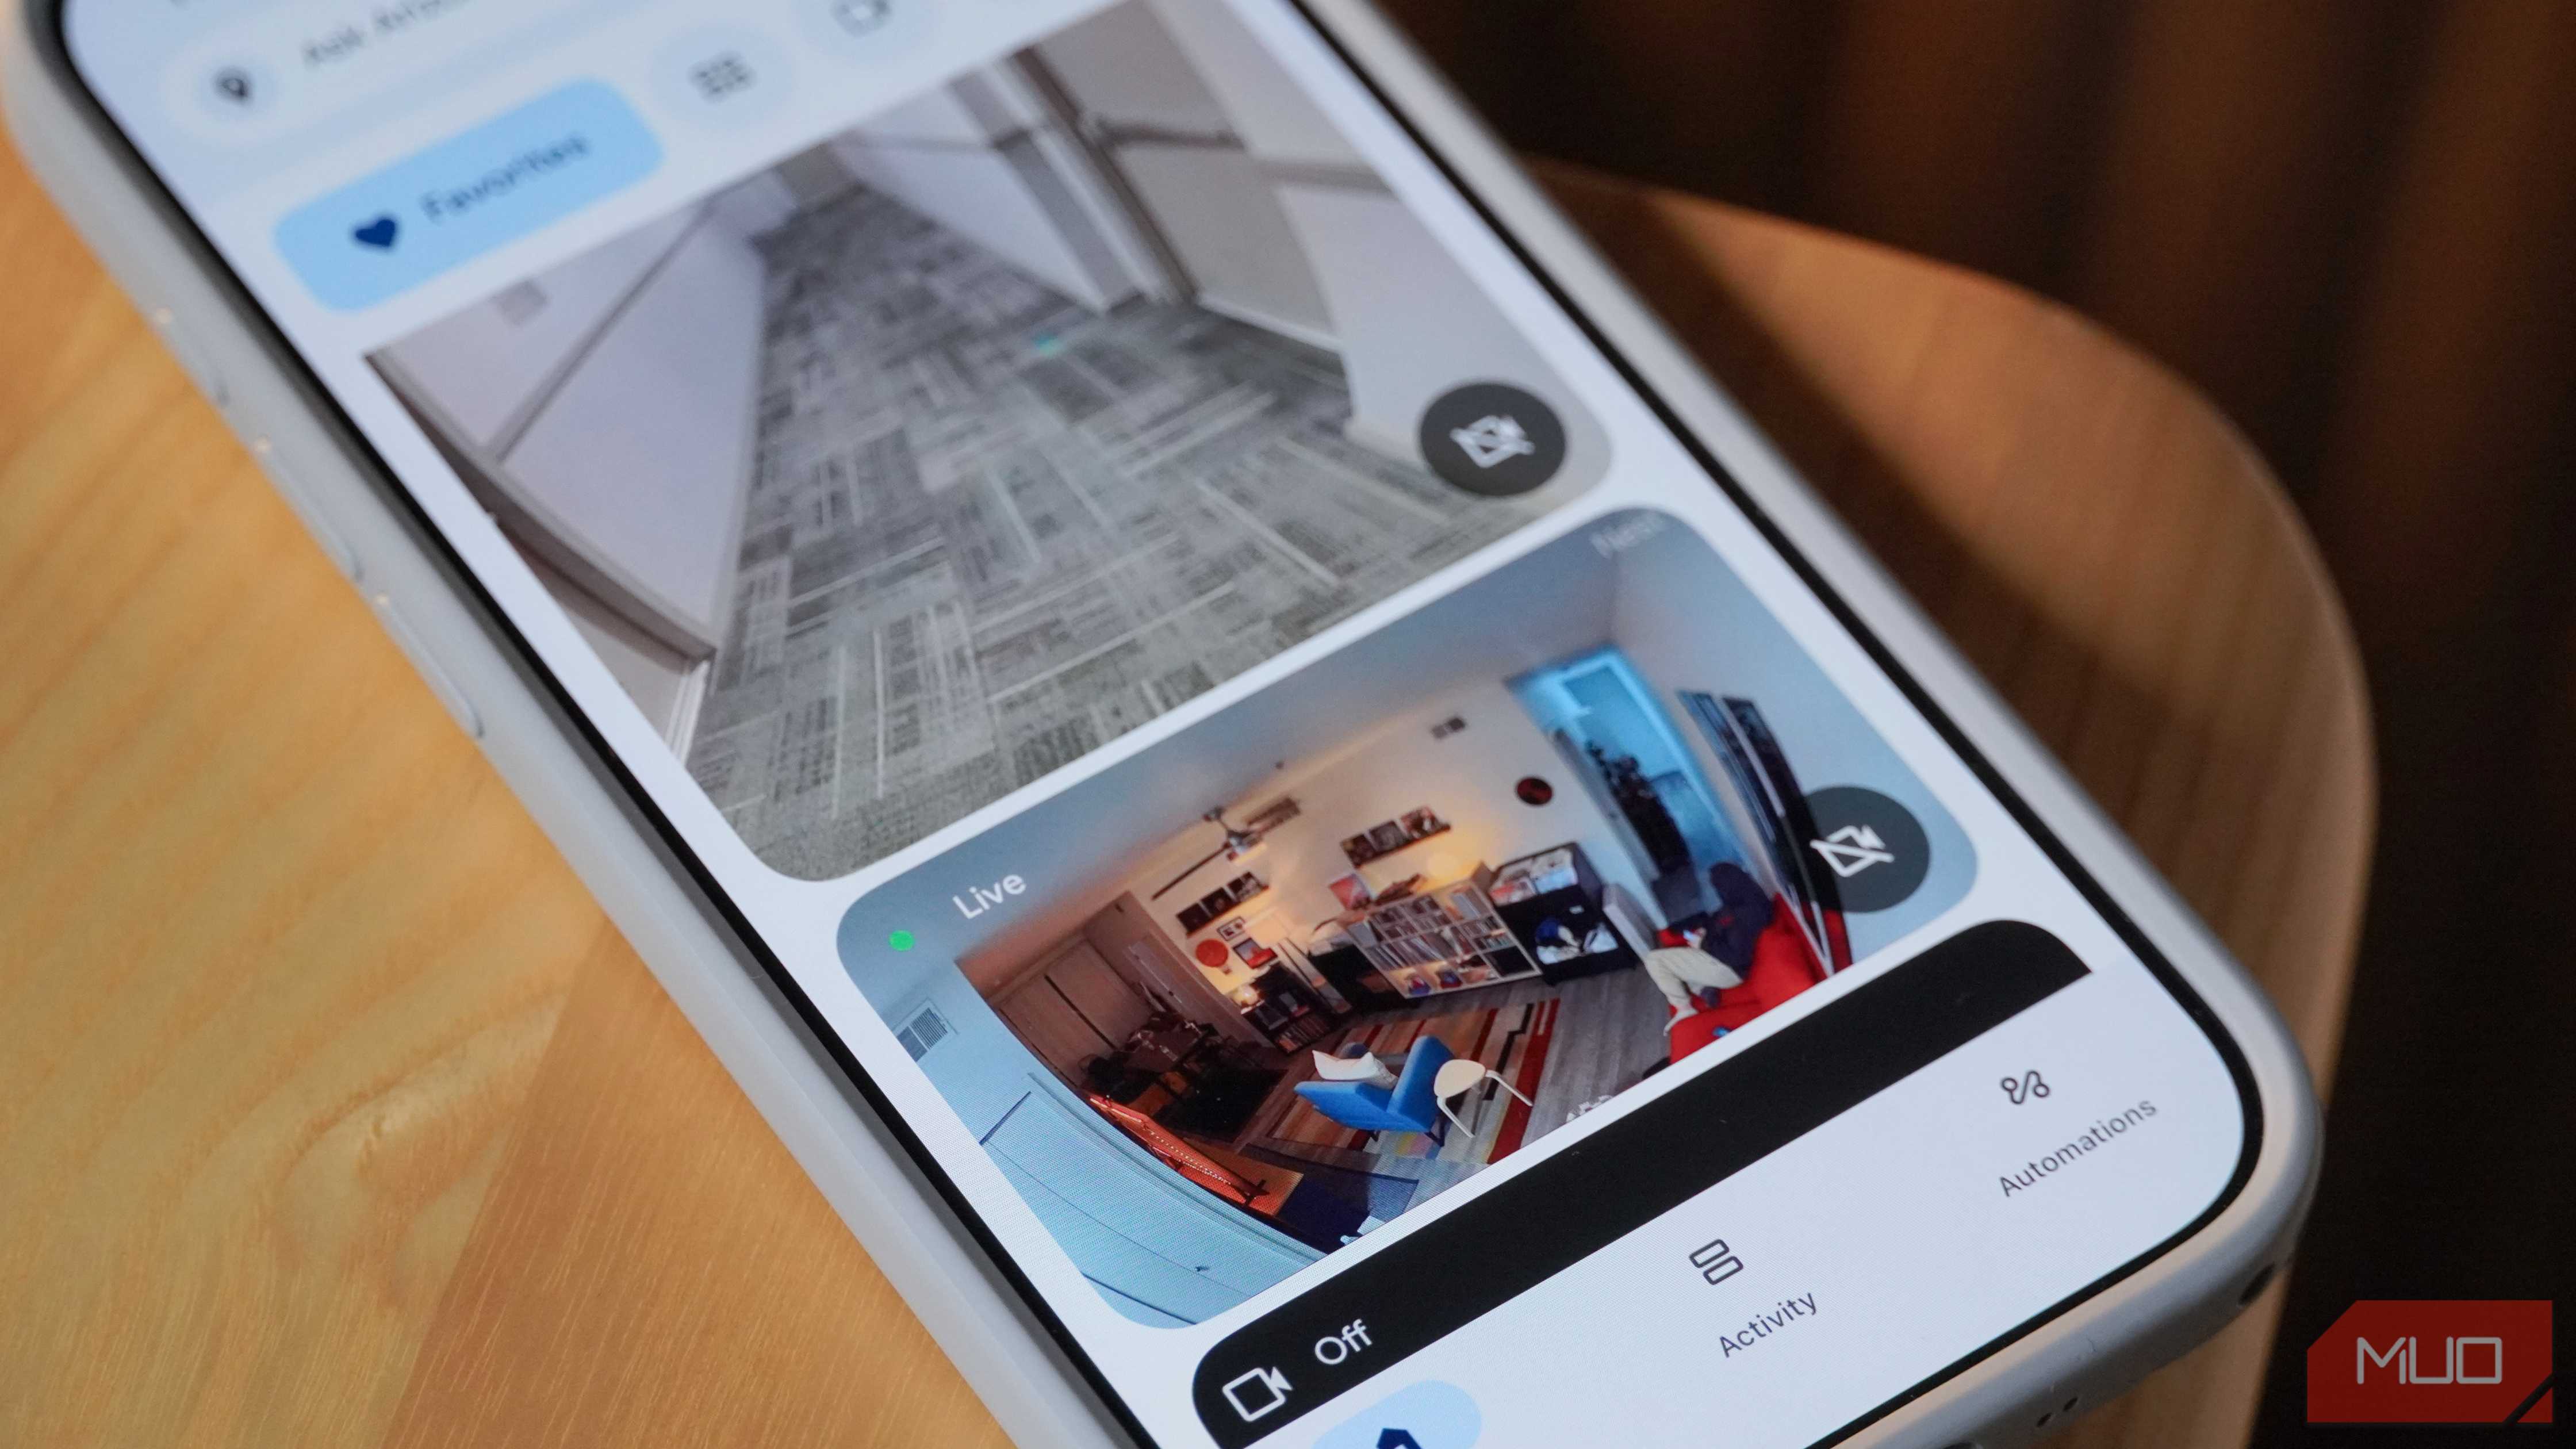
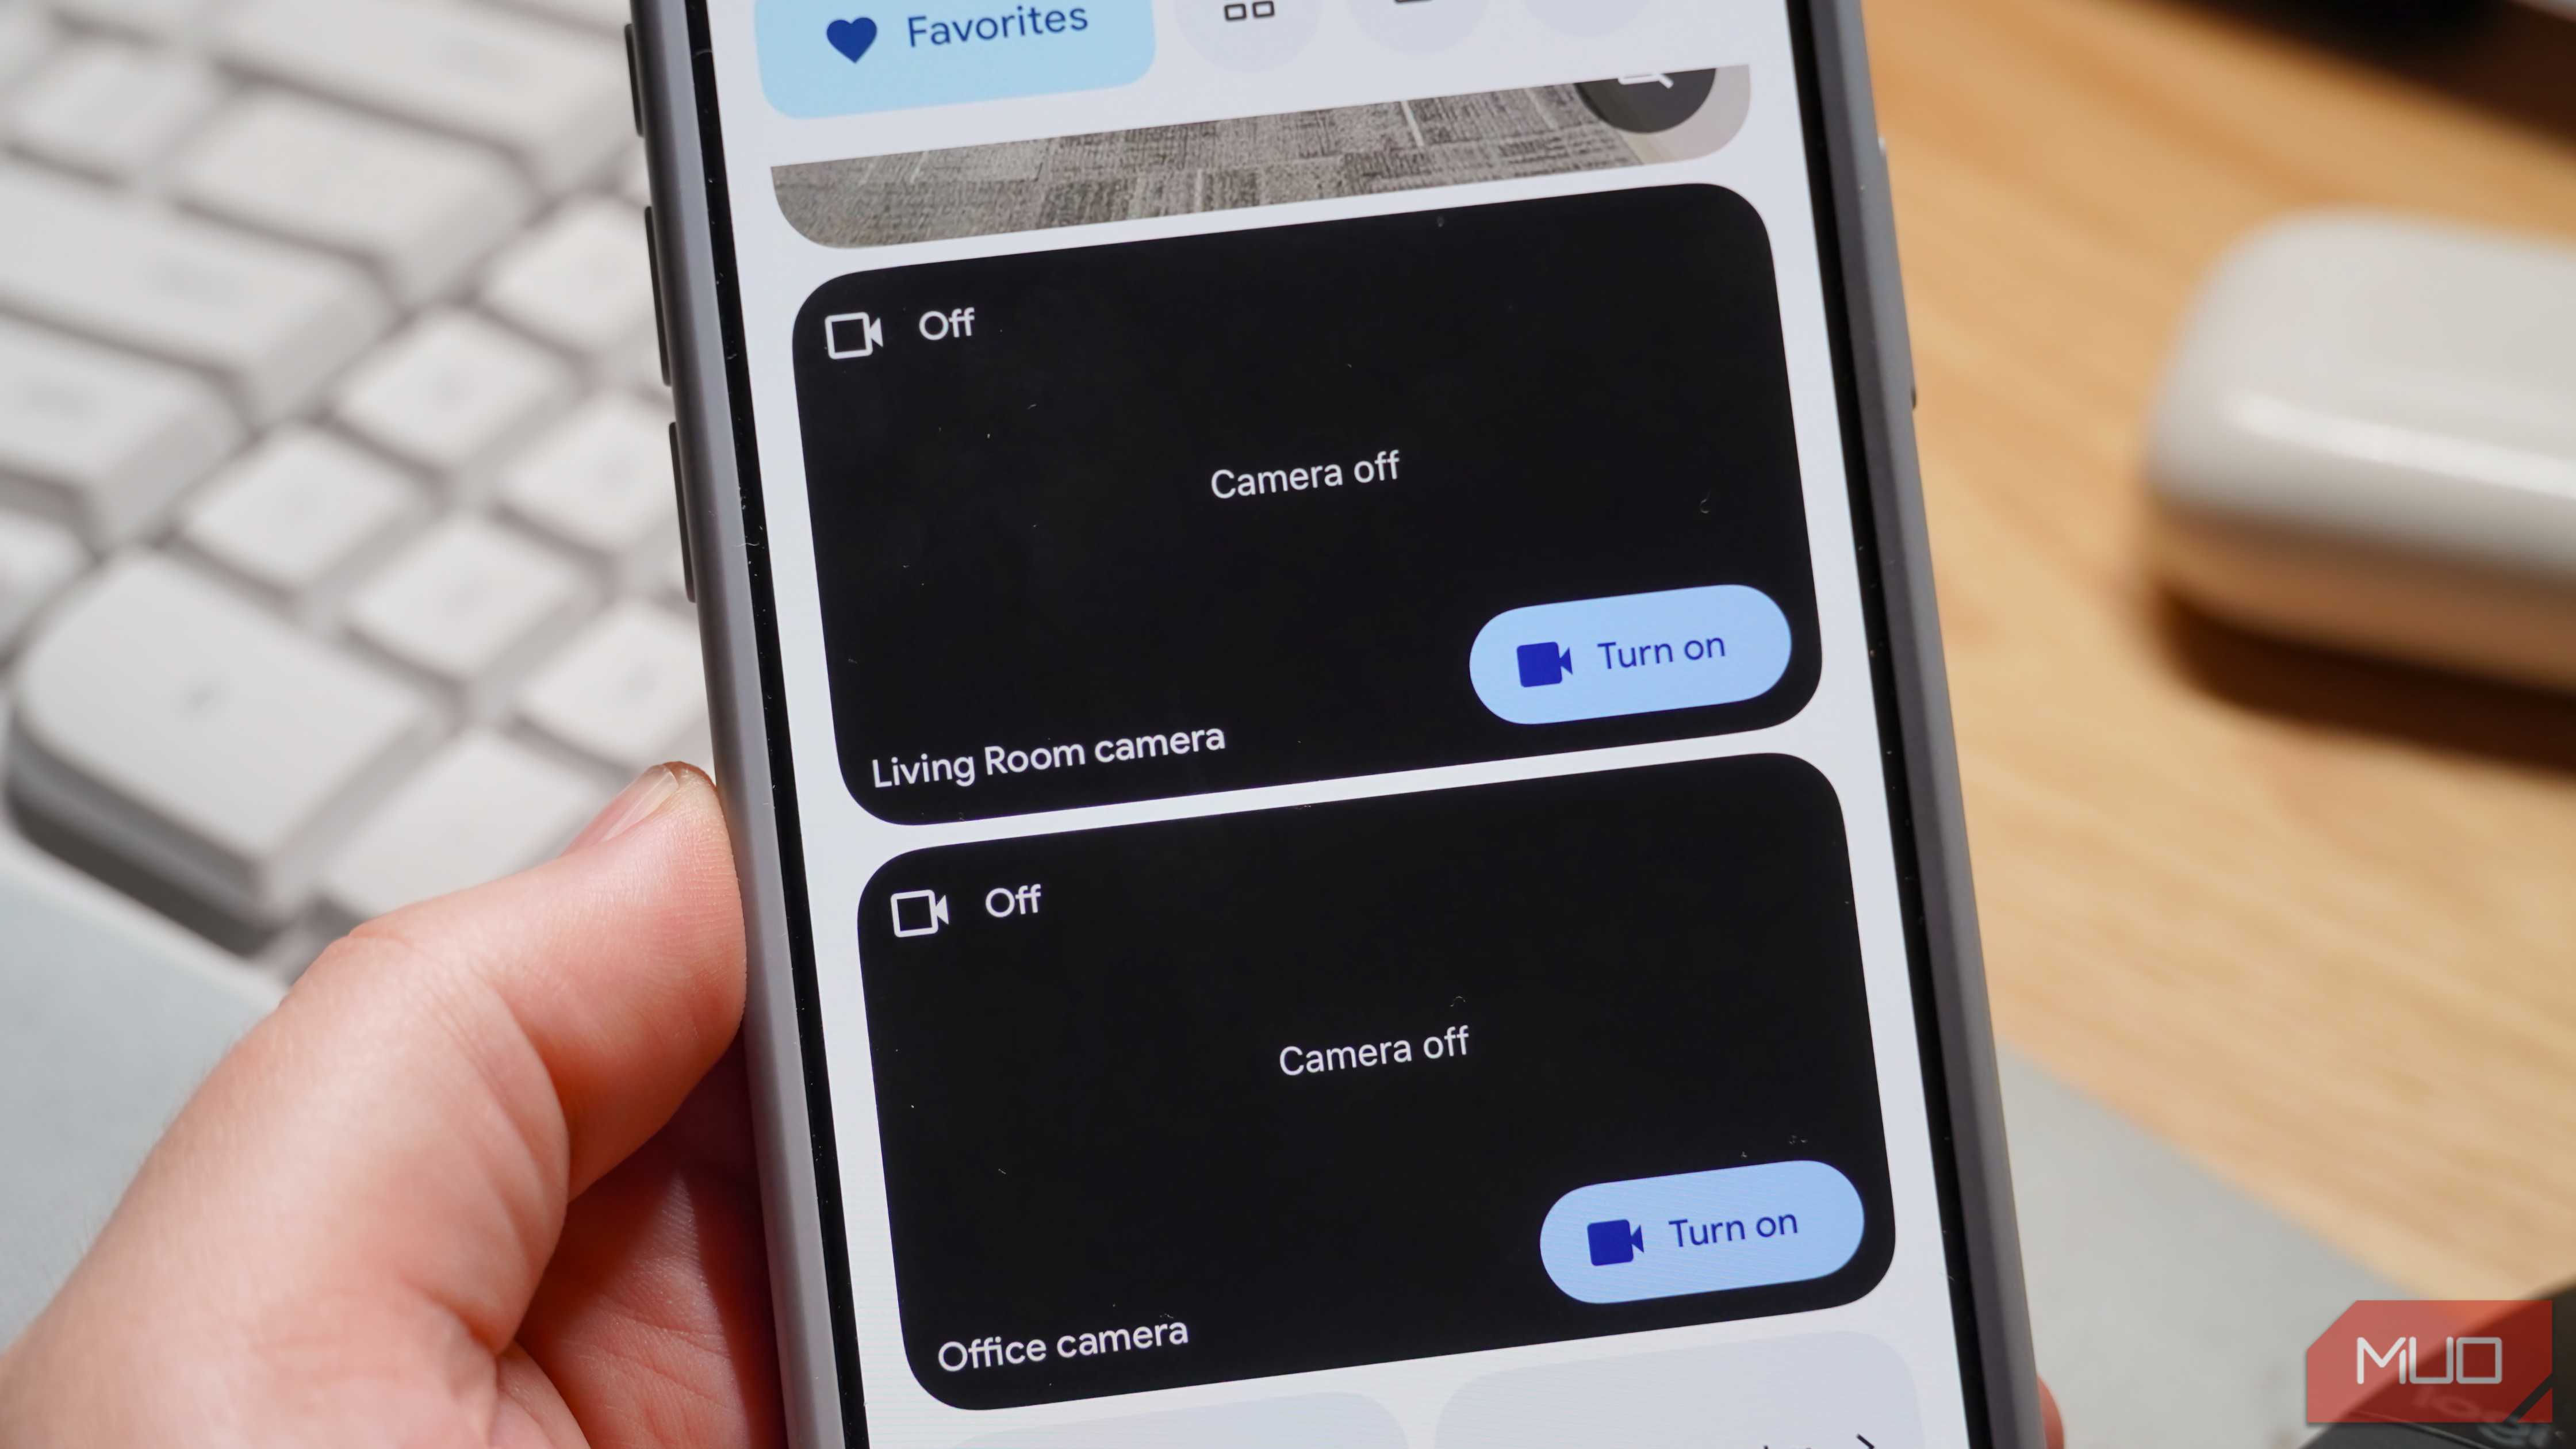


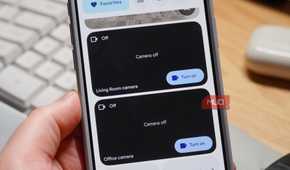
The other benefit to owning your router is that your devices will automatically connect to it after you move. Your network information has nothing to do with your physical location. The devices on your network look for a known Service Set Identifier (SSID) — this is your network's name. Devices with a familiar SSID and password combination will automatically connect to your Wi-Fi network. This applies even if you disconnect your router and hook it up to a new Ethernet connection, like you might if you moved apartments.
It's a pain to move an entire smart home, and I'm deep into the Google Home ecosystem. I have smart displays, smart cameras, smart speakers, a video doorbell, and a smart thermostat, among other accessories. Typically, to move some of these accessories over to a new Wi-Fi network, you'd need to remove and re-add them to your smart home app. Since I took my router with me when I moved apartments, everything automatically connected when I plugged my Nest Wi-Fi Pro system in and hooked it up to a modem. All I had to do was change the address for my home in the Google Home app, and my smart home was ready to go.
My smart home gadgets weren't the only devices that instantly connected to my new home's Wi-Fi network after plugging in my router. Phones, laptops, and computers all recognized my network, with me having to lift a finger. By owning my Wi-Fi router instead of using the ISP-supplied option, I retained my network settings and saved devices during the apartment move.
If you can't bring your router with you, do this
You can change the SSID and password of your new network
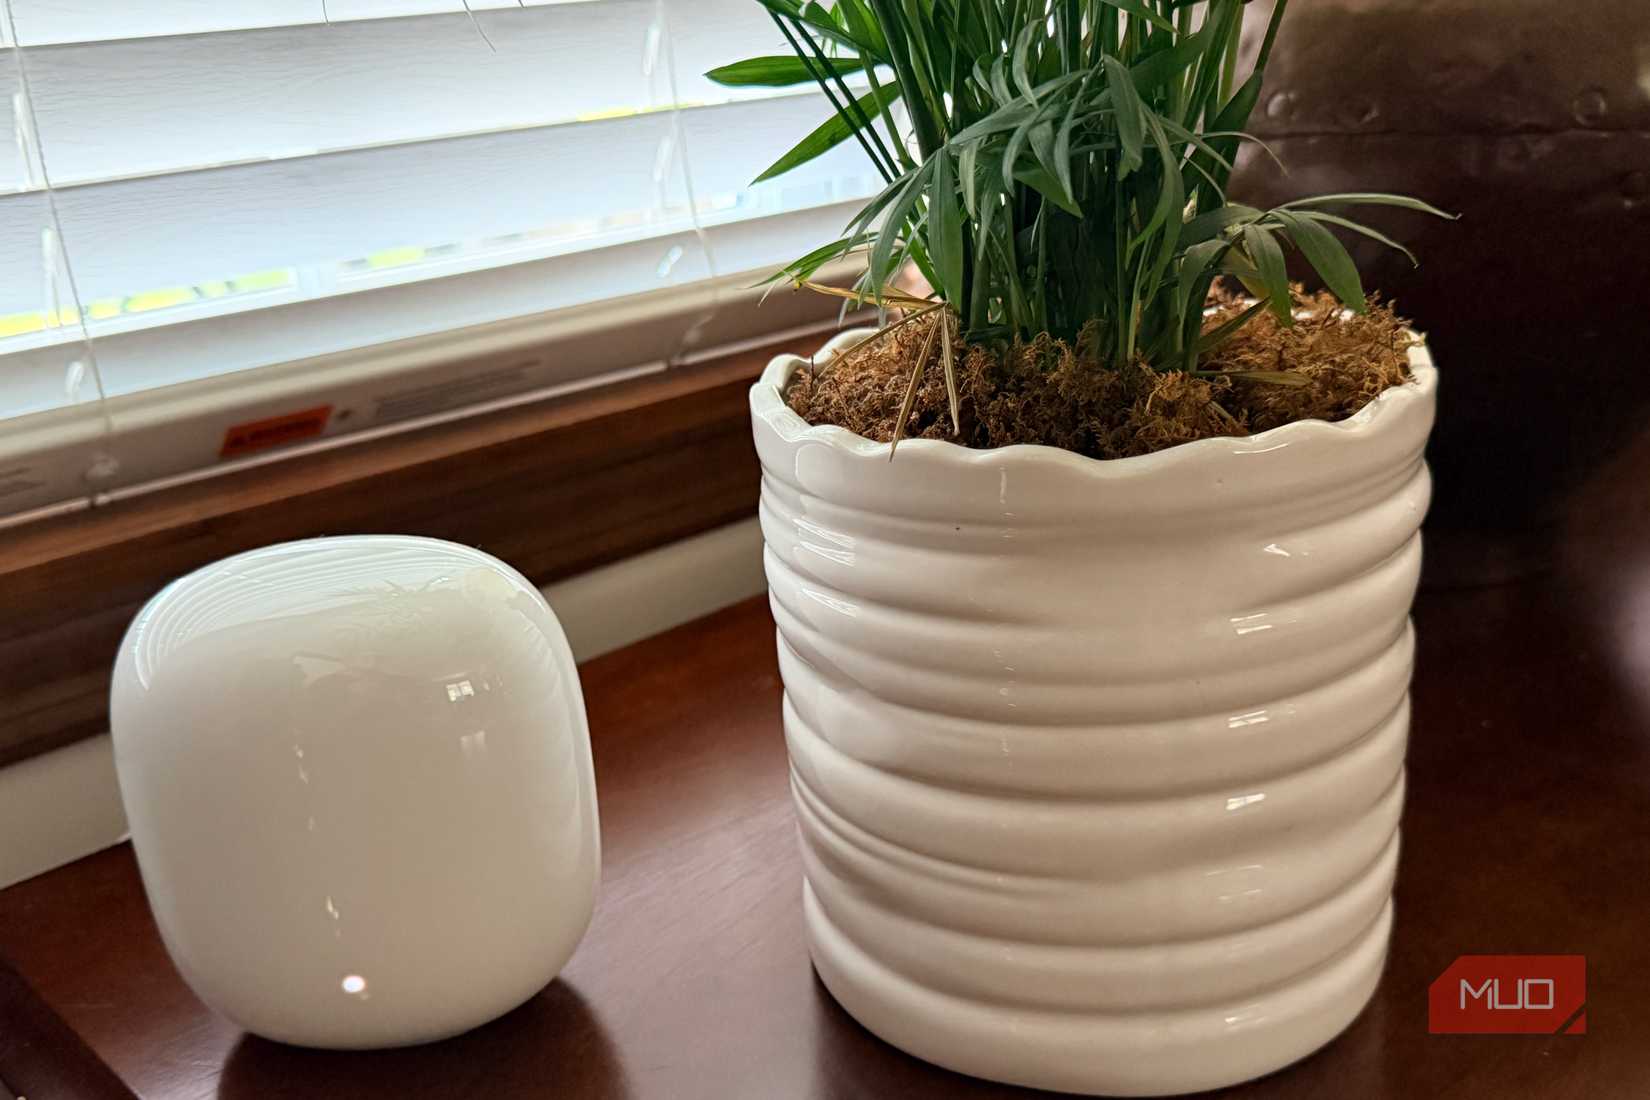
If you're tech-savvy, you probably know that the reason my devices automatically connected to my Wi-Fi router isn't strictly because I used the same router across multiple apartments. Instead, it's because the SSID and password combinations remained the same. Using the same router makes it easy to use the same SSID and password for your new network after a move, but it isn't the only way.
If you can't bring your old router with you to your new apartment, you can manually change your new router's SSID and password to match the exact combination used by your old router. The process for doing this varies between router models, but generally, you'll need to find your router's IP address and use it to access the admin page. There, you can change the SSID and password — check your router's manual for the exact instructions for how to do this. If you set the SSID and password of your new router the same as your old router, your devices should automatically connect.
This isn't as convenient as simply owning your Wi-Fi router and bringing it to your new apartment, though. My experience was completely plug and play. I didn't have to access the router's admin panel or reconfigure the router settings to match my old one. I plugged my router into a wall outlet in my new apartment, and connected an Ethernet cable from the modem to the router. That's all I had to do in order to set up and use my Wi-Fi network exactly how I left it at my old place. The streamlined experience made the initial cost of buying my mesh network completely worth it.

Google Nest Wifi Pro
$150 $200 Save $50 Coverage Up to 2,200 square feet Wi-Fi Protocols Wi-Fi 6E - 2.4 GHz, 5 GHz, 6 GHz bandsGoogle's reliable mesh Wi-Fi system helps ensure coverage throughout your whole home. The system uses Wi-Fi 6E for speeds up to 5.4 Gbps, and the 6 GHz band helps reduce interference for better performance.
$150 at Amazon $150 at Best Buy Expand Collapse